Email.
Get support for your Esendex Email products.
The Esendex Email Editor
Summary
- Getting Started with the Esendex Email Editor
- Create Your Campaign
- Content Tools
- Sections
- Conditional Sections
- Pre-built Sections
- Saved Sections
- Header, Footer & Preview Text
- Global Style Settings
- Import Custom Fonts
- Personalising Content
- Manage your Mobile View
- Responsive Design
- Preview Your Campaign
- Email Preview
- Send a Test Email
- Save Your Campaign
- Send Your Campaign
Getting Started with the Esendex Email Editor
Email design with our intuitive drag-and-drop Email Editor is simple and the only tool you need for all your mailing needs. What can you create with our Email Editor? Take your pick:
- Campaigns – Also known as a newsletter, a marketing email, a mass market email. Whatever name you pick, a campaign is sent to a list of subscribers.
- Templates – Create and manage your own predesigned templates and use them for a multitude of purposes:
- Marketing Templates – A template that reflects your brand and use it for future campaigns.
- Transactional Templates – A template stored on the Esendex platform that can be used for all your transactional needs.
With the Esendex Email Editor, you can choose how to design your campaigns, emails and templates:
- Responsive Drag-and-Drop Editor – Use the Esendex Email Editor’s wide range of content tools to design your header & footer, and different sections within your email body.
- Use HTML – For anyone who is comfortable coding their emails with HTML directly.
- Use MJML – Use the Esendex markup language MJML – the only framework designed to make coding responsive email easy. Save time and code more efficiently with MJML’s semantic syntax. (Please note that our drag-and-drop editor also generates MJML code.)
You can also preview your email on different mobile devices right inside the Editor.
One more thing – the Esendex Email Editor is a responsive email editor. That means your mailings will be rendered properly on a computer, smartphone or tablet regardless of the recipient’s email client.
Create Your Campaign
From the Campaigns page, click the ‘Create a Campaign‘ button.

The ‘Create a new campaign‘ page shows the different sections of your campaign.
As you complete each section, the corresponding checkmark will become green.
Once all sections are completed, you can then send your campaign or schedule it to be sent at a later time.
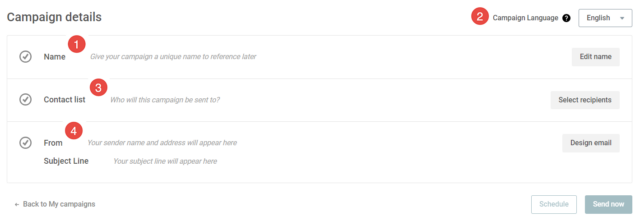
- Title: Give a title to your campaign to identify it in your reports. This is an internal name that only you will see.
- Language of Your Campaign: Choose the desired language.
- Contact list: Click the ‘Select recipients’ button to select your contact list. For premium plan users, create or apply a segmentation. For more information on segmentation, please read the FAQ: How to segment/filter contact lists
- Content: Now the fun part: designing your content with the Esendex Email Editor. Get started by clicking ‘Design email’ to select your campaign template.
- Subject: The subject of your campaign as it will appear in your recipient’s inbox. (Please note: The subject limit is 100 characters, however for better open rates, keep your subject line to under 70 characters.)
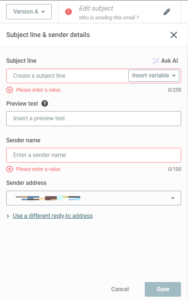
- From: Enter the name your recipients will see in the ‘from’ field and select a sending address from the drop-down list.
Let’s get started – click ‘Design email’ to select your campaign template.
Select a Campaign Template
On this page you can select from the following template options:
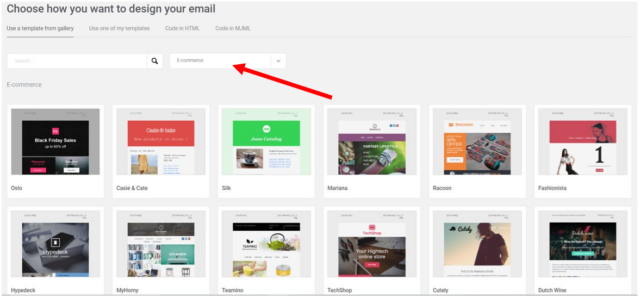
- Use a template from the gallery
Choose from a number of beautiful predefined templates - Use one of my templates
Your own set of previously created templates - Code in HTML
Create a campaign using HTML or import your own code

- Code in MJML
Create a campaign using MJML or import your own code

Once you have selected a template, the next step is to design your email with the Esendex Email Editor.
Content Tools
This area covers all the content elements that will appear in your message (text, images, buttons, social sharing, etc).
Adding content is easy – just click on the content block and drag it to the desired area in your campaign. If you want to move that block, just drag and drop to the new location.
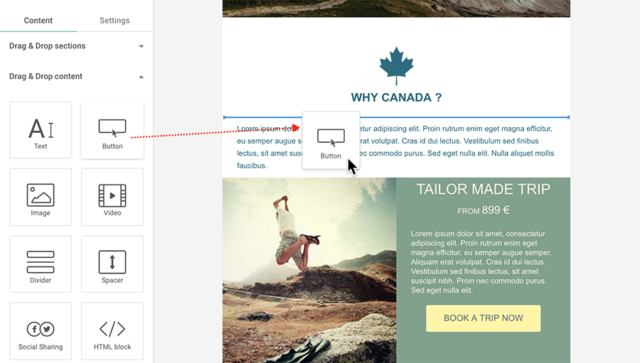
Click within the frame to customise the element using the toolbar that appears around the frame.
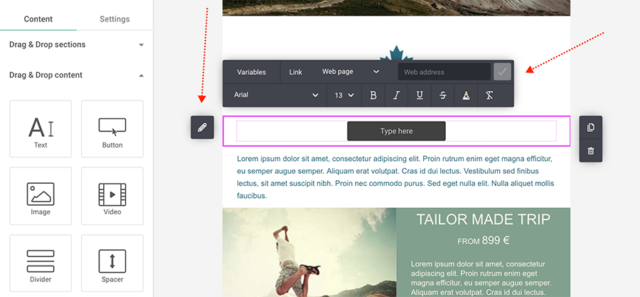
Text

Using the Text toolbar, you can easily format and customize your text block:
- Adjust line heights
- Align text
- Set the background colour
- Change Margins
- Personalize your content using contact properties
- Format your text (font, bold, italic, etc)
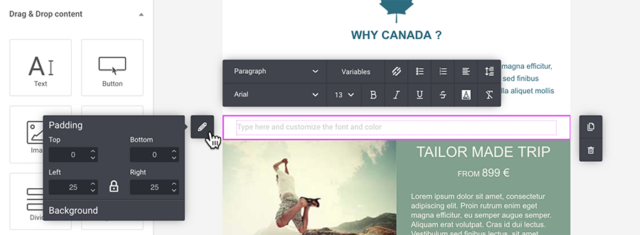
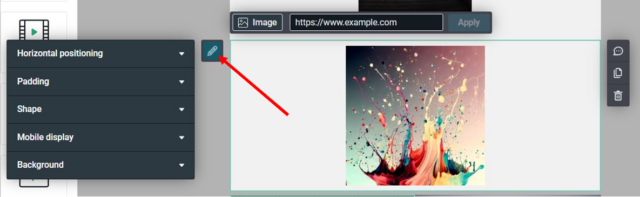
Image / Image Gallery

The Image toolbar offers a range of options to enhance your visuals:
- Adjust horizontal positioning
- Add padding for a polished look
- Apply a border or shape to the image
- Optimise for mobile scaling
- Set a background colour for seamless integration
You can incorporate an image into your section using the following methods:
- Upload: Select an image from your device and effortlessly add it to your Image Gallery.
- Image Gallery: Choose from your existing collection of images stored in the Image Gallery for quick selection and use.
- Link: Directly use an existing image available online.

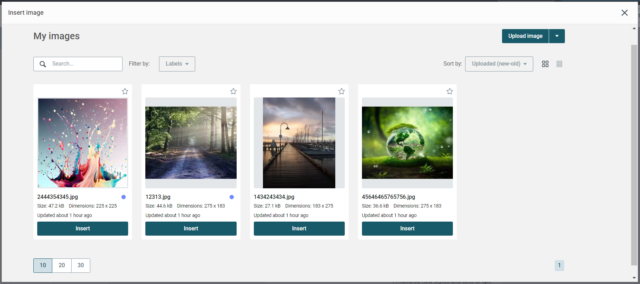
The Image Gallery feature in Esendex serves as a centralised hub for managing and organising images to be used in your newsletters.
Key features
Centralized Storage
- The Image Gallery acts as a central repository for uploading and storing images.
- Eliminates the need to upload the same image repeatedly for different campaigns.
Easy Retrieval
- Enables easy browsing and selection of images within the gallery while creating a newsletter.
- Saves time and ensures consistency in visual elements.
Organization
- Labelling and Starring: Effortlessly categorise and prioritise your images in the Image Gallery by applying labels and stars, ensuring easy organisation and quick identification.
- Systematic Structure: Organizing images into categories ensures a systematic and tidy arrangement. This helps streamline your image library for easy navigation and ensures that you can find what you need without unnecessary scrolling or searching.
Reuse
- Allows reuse of stored images across multiple campaigns.
- Ideal for consistent usage of logos, product images, or other visuals.
Integration
- Seamlessly integrates with the newsletter editor for quick addition of images to campaigns.
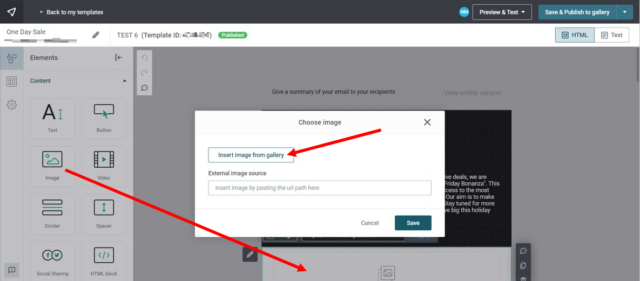
Let’s select an image for our campaign from your Image Gallery
Drag & drop the image content box into the newsletter and use the ‘Insert image from gallery” button.
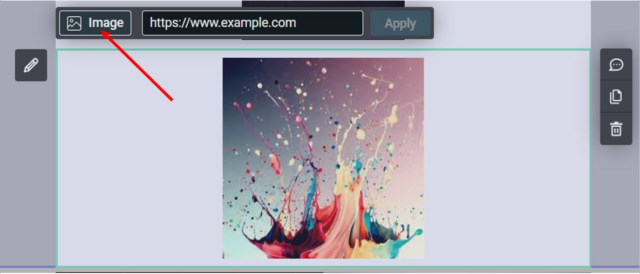
Additionally, you have the option to upload an image from an external link.

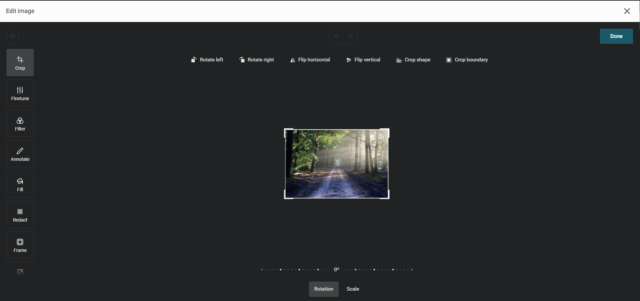
Once you’ve selected an image from the Image Gallery, leverage the Image Tool Editor for further adjustments. Crop, resize, rotate, or flip your image to achieve the desired visual impact.
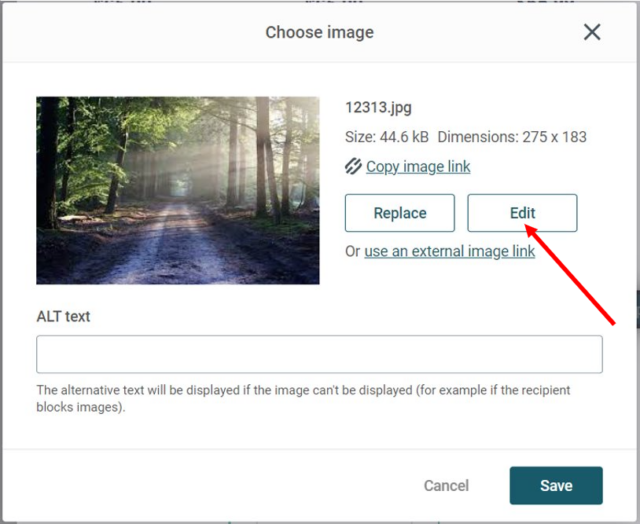
Consider adding ALT text to your image, providing a brief and descriptive summary. ALT text serves as a backup in case the image cannot be displayed.
You can also make these modifications after saving by selecting the image and clicking on the Image Tool Editor button.
How to Use the Image Gallery
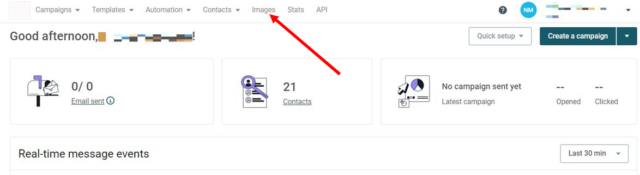
Access
Navigate to the Image Gallery section within your dashboard.
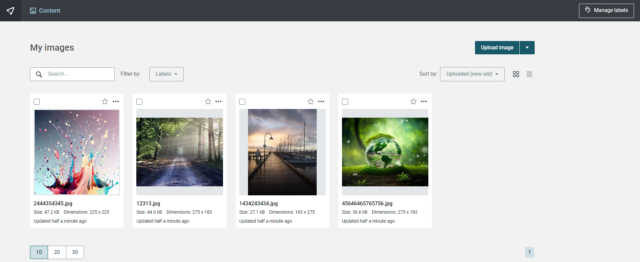
Or Drag & drop the image content box into the newsletter and use the ‘Insert image from gallery” button.

Upload
Upload images to your gallery directly from your computer or externally from a URL.
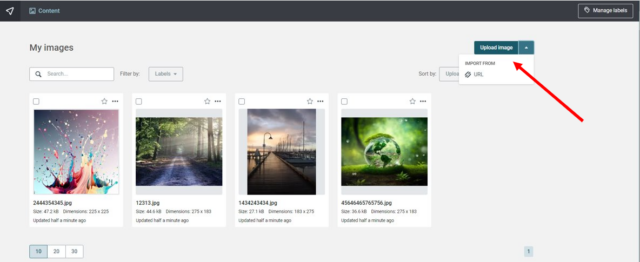
Note: The maximum allowable image size for upload is 2 MB.

Organization
Organize your images into categories by labelling them to ensure a systematic and tidy arrangement so you can find what you need without unnecessary scrolling or searching.
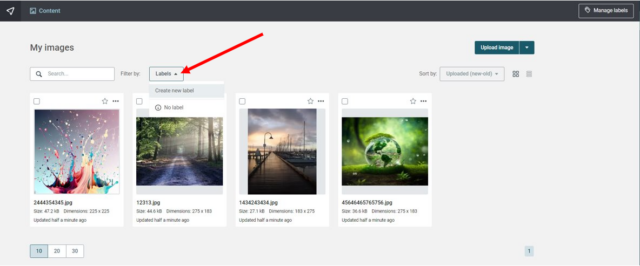
A label can be applied to as many templates as you wish and you can create up to 200 labels per API Key.
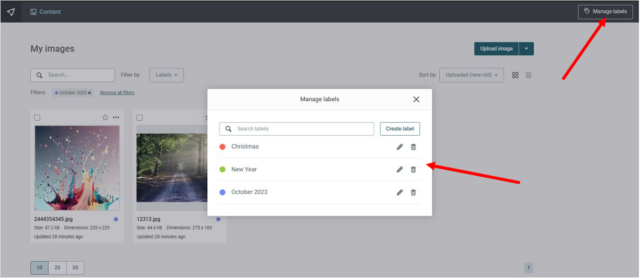
For example, use labels to identify special events, holidays, seasonal templates, geographical locations, client groups, and much more.
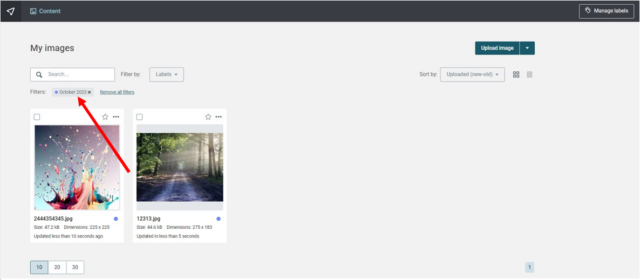
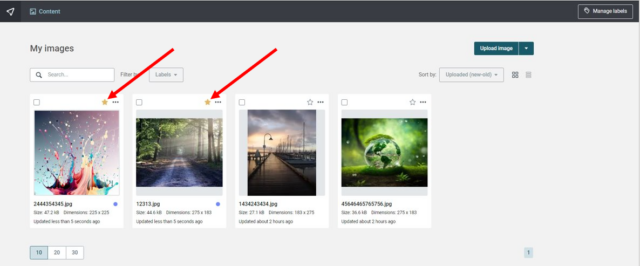
Applying stars to images ensures they take priority and are displayed on top, making it ideal for frequently used visuals such as a company logo.
Retrieval
While creating a newsletter, access the Image Gallery to easily retrieve and insert images by Drag & drop the image content box into the newsletter and use the ‘Insert image from gallery” button.
Deleting
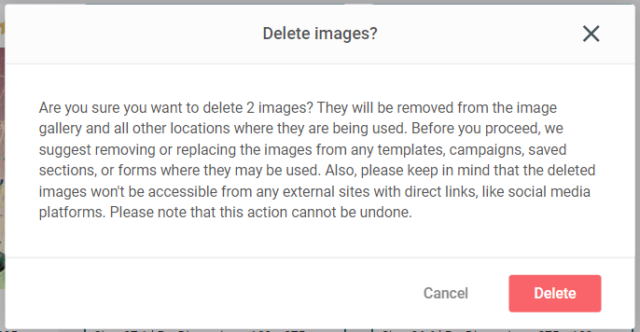
Deleting Images from the Image Gallery:
- Choose the image/images you want to delete by selecting the checkbox next to each image.
- Confirm the deletion when prompted. This step is usually to ensure that you don’t delete images accidentally.
- The selected images should now be removed from the Image Gallery and all other locations where they are being used.
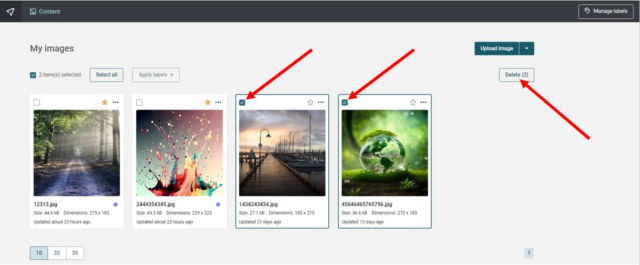
Remember, deleting images is irreversible, so make sure you want to permanently remove them before confirming the action.

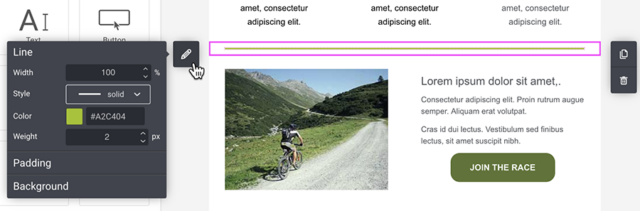
You can add a dividing line to separate sections or elements within a section (as per the example below). The Divider toolbar allows you to:
- Set the background colour
- Change Margins
- Format the line (design, colour, weight)
- Adjust the horizontal and vertical spacing
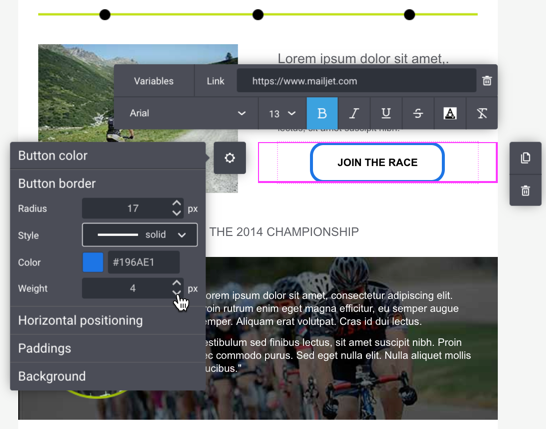
Button

There are many options available in the Button toolbar including:
- Border Radius (set the roundness of the button corners)
- Button border colour, weight, and style (solid, dotted, dashed, etc)
- Set horizontal positioning and padding
- Add a hyperlink
- Font alignment
- Adjust the margins
- Personalize the text using contact properties
- Format the font (font family, colour, bold, etc).
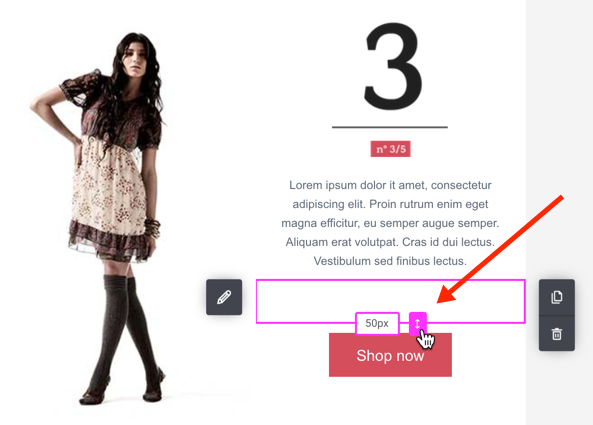
Spacer

Add a blank space to separate elements or sections within your newsletter. With the Spacer Tool, you can:
- Set the height of the blank space (in pixels)
- Add a background colour (optional)
Social Sharing

Add your favourite social icons to your campaign such as Facebook, Twitter, LinkedIn, Instagram, YouTube, Medium and Xing.
Click the ‘Configure links‘ button to open the Social Media Configuration modal where you can:
• Select up to 10 social media icons
• Modify the label text
• Share the online version of your marketing newsletter to your social media account* or set the link to go directly to your social media page.
• Create your own social icon by clicking ‘Add custom icon‘
To show and configure the text labels, click ‘Display labels‘.
* The online sharing option is currently available for marketing campaigns, and not for transactional and automation emails.
Click the block options (pencil) to configure the icon size, shapes and colour as well as the section background colour and padding.
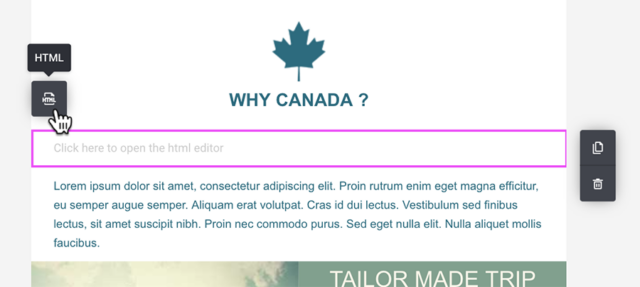
HTML Block

You can add some HTML code directly into your newsletter. Drag the HTML Block to your campaign, then click on the button from the toolbar to open the HTML editor window and code away!
RSS Feed

Pull blog posts and other dynamic content into your campaigns with an RSS Feed.
Simply drag the RSS Feed tool to your campaign and add your RSS Feed URL link in the modal window. Then select the items you want imported by clicking on the drop-down list or searching by author or title.
Each imported item will appear as a section in your campaign where you can edit the content and image as normal.
The RSS content is retrieved only once upon import and will not be updated automatically. If you need to update your RSS content, just create a new RSS feed and delete the old one.
Every time you add an URL link to an RSS Feed, it will be stored locally at API Key level. The next time you add an RSS Feed content block to a campaign, you will have access to the last 5 feeds added.
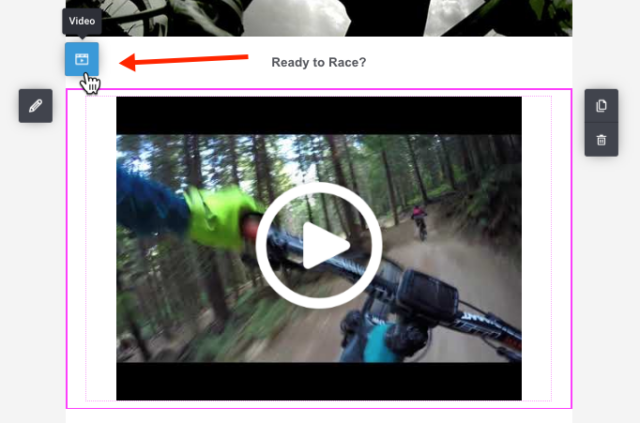
Video

To add a video to your campaign, drag the Video tool to the desired location. In the popup modal, add your video URL.
Preview images are automatically generated for YouTube, Vimeo and Dailymotion videos. For all other videos, click ‘Choose image’ to add your own preview image.
Once the preview thumbnail is created, the default play button will be added. You can choose from several designs for the play button. (Please note, that the play button image will be automatically resized relative to the thumbnail size. Specifically, it will be 50% of the smallest edge (width or height) of the preview thumbnail.)
The last step is to add a simple description of the preview image in the ‘Image Alt Text’ field. This alt text will be displayed in the event your subscriber cannot view the image. Then click ‘Save Video’.
From the Video toolbar, click the ‘Video’ button to edit your video at any time.
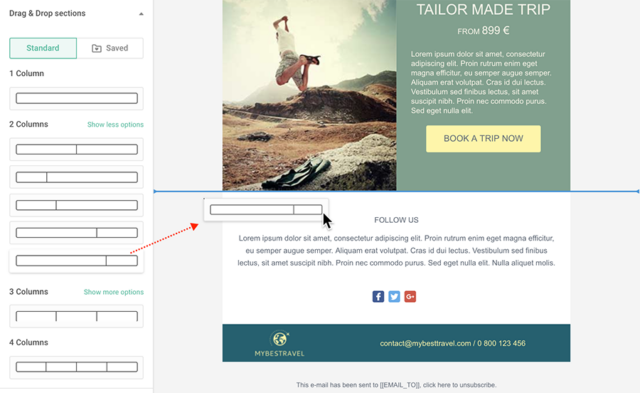
Sections
Add a Section to Your Campaign
You can build your campaign by adding sections. Then you add different elements (text, button, images, …) to each section. A section can have 1, 2, 3 or 4 columns, with varying widths.
Click on the section layout you want, then drag and drop it into your campaign.
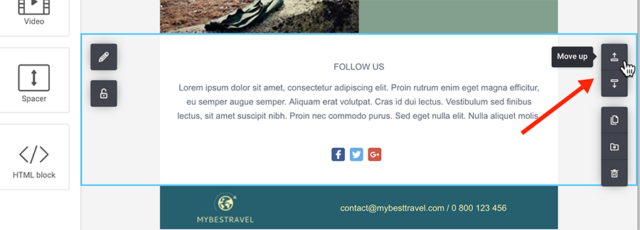
Move a Section
Click in the section background then on the up or down arrows.
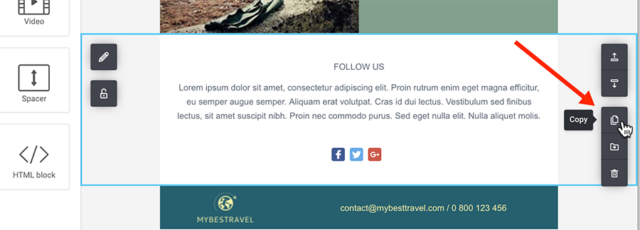
Duplicate a Section
Click within the section to highlight it, then click the duplicate icon on the right side of the screen.
Delete a Section
To remove a section from your campaign body, click within the section, then click the trash icon. Confirm the deletion by clicking on the red ‘x’ that appears.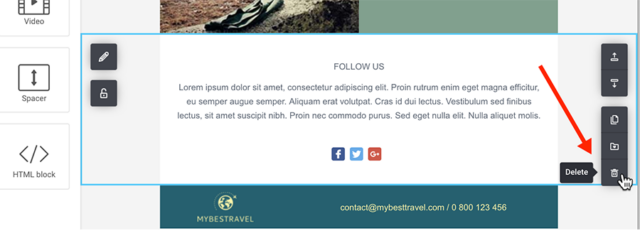
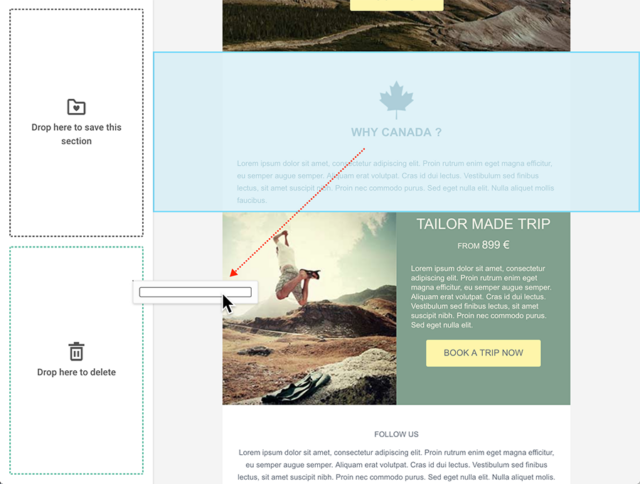
You can also quickly delete a section or element, by dragging it to the content tools area.
Conditional Sections
You have the option to display a content section to certain people by applying a segment. The segment can be based on the user’s existing contact properties or by their user activity.
For example, you may want to display a promotional section to your female clients only or offer a discount code to clients who have not opened your previous newsletters in the last 3 months.
Please take a few minutes to review your current segments. If you need a refresher, please review our Segmentation Guide.
Note: Conditional sections are available for Premium accounts only.
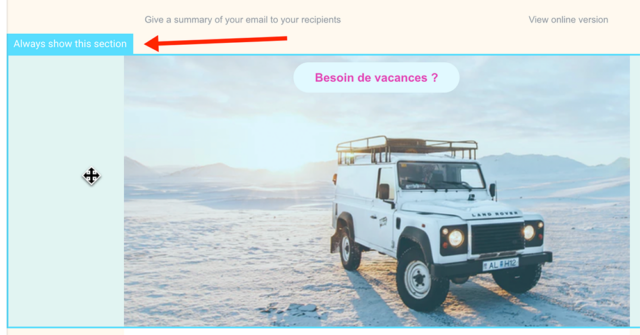
Click within a section to view its current conditional status. By default, all sections are shown to everyone.
To apply a segment:
- Click ‘Add Condition’
- Click ‘Only show to recipients who belong to the segment’ and select a segment from the dropdown list.
- Click ‘Save’
To remove a segment, simply click ‘Edit‘ and select ‘Show to all recipients’.
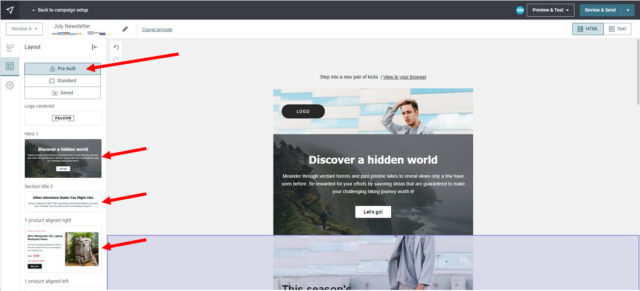
Pre-built Sections
A pre-built section can serve as a template that can be used and modified to meet the specific needs of the sender. Think of a pre-built section as a ready-made content block that provides a foundation for creating various types of emails or designs. This section already includes a combination of elements such as text, images, headings, buttons, and more, arranged in a visually appealing and coherent manner.
The primary reasons for using pre-built sections in a template are as follows:
- Time-Saving: Starting with a pre-built section saves time as it provides a starting point, reducing the need to create content or design from scratch.
- Design Consistency: Using a pre-built section ensures a consistent and professional look throughout the template. This consistency is crucial for brand identity and recognition.
- Structure and Layout: Pre-built sections offer a well-organized structure and layout, guiding the sender on how to present their content effectively.
User-Friendly: Pre-built sections are designed to be user-friendly, allowing even those with limited design skills to create visually appealing templates. - Customisation: While the pre-built section provides a foundation, the sender can easily modify, rearrange, or add elements to tailor the template to their specific requirements.
- Flexibility: Senders can adjust fonts, colors, images, and other visual elements to align with their brand or style preferences.
Consolidation of Best Practices: Pre-built sections are often created based on design best practices, ensuring the template adheres to effective design principles. - Reusability: Once a pre-built section is modified to the sender’s needs, it can be saved and reused as a personalized template for future use.
By using a pre-built section in a template and customising it according to your needs, you can create visually appealing and well-structured emails or designs without the burden of starting from scratch. This flexibility empowers the sender to focus on their content and messaging while leveraging professionally designed elements to enhance the overall quality and impact of their communications.
Saved Sections
Tired of creating and updating the same header, footer or key sections in your campaigns and templates?
You can stop duplicating your efforts and start saving your important campaign/template sections with Saved Sections.
Saved Sections allows you to save a part of your campaign or template (content, color, formatting) for use in your future Marketing, Transactional and Automation mailings.
All sections are saved into a Saved Sections Gallery where you can :
- Save your sections from the Email Editor to a Saved Section gallery
- Drop a saved section into a template or dynamically link* a section to many templates at once
- Work on draft versions to update sections without impacting the templates they are linked to
- Edit and publish changes to your sections, updating all templates they are linked to, with a single push of a button!
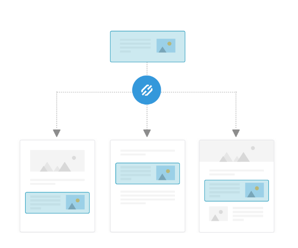
Regular vs Dynamically Linked
There are two types of Saved Sections:
- Regular Saved Section
Copy your Saved Section to your template or campaign. Any changes made to Saved Section in the Gallery will not be reflected in your template. - Dynamically Linked Saved Section
Link your Saved Section to your templates. When changes are published on a Linked Saved Section in the Gallery, all linked templates are automatically updated. Use the Link mode for sections that are used in many of your templates such as headers and footers.
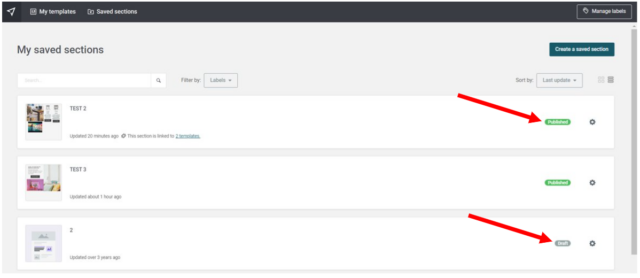
Draft Sections and Published Sections
A Saved Section can be in Draft mode or in Published mode:
- Only Published Sections will appear in the ‘My Saved Sections’ menu in the Email Editor and can be added to your marketing template, transactional email, or included in an automated workflow.
- A Draft Section cannot be used in templates and will not appear in the ‘My Saved Sections’ menu in the Email Editor when designing your campaigns, templates, or automated workflows. Once you are satisfied with your section design and content, simply publish it to have it appear in ‘My Saved Sections’ in the Email Editor.
Section statuses can be seen in the Templates → Saved Section Gallery.
Please note, linking sections to templates is only available on Premium Plans.
Create a Saved Section
There are two ways to create a new Saved Section:
- Use the Section Builder to design a new section
- Save a section from an existing template or campaign via the Email Editor
Using the Section Builder from the Saved Sections Gallery
Go to your Saved Sections Gallery which can be accessed from any Templates page.

To design a new section, click on ‘Create a saved section‘.

Enter a name for your new Saved Section, an (optional) description and then click ‘Create‘ to continue.
Design your new section using the Section Builder, which is a mini version of the Email Editor.
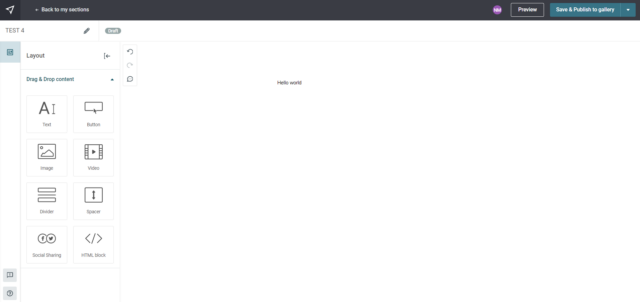
Once your section is ready for use, just click on ‘Save & Publish to gallery‘.

And that’s it – your first section has been published.

Click ‘Back to my sections’ to return to the Saved Sections Gallery to see your newly published section. It can now be used in your campaigns, transactional emails and automation workflows. 🙂
Keep reading to learn how to create a section from an existing template/campaign in the Esendex Email Editor, or jump to how to use My Saved Sections.
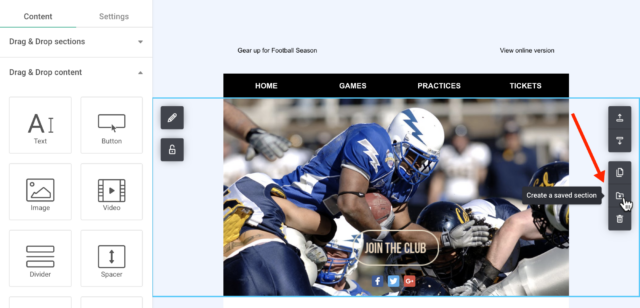
From an existing Campaign / Template via the Esendex Email Editor
You can also create a Saved Section from an existing Campaign or Template. Within the Email Editor, select the section that you want to save, then click on ‘Create a saved section‘ from the menu.
In the pop-up window, enter a name for your saved section and (optional) description.
Alternatively, you can also quickly save a section by dragging it to the Content Tools area, on the left of the builder.
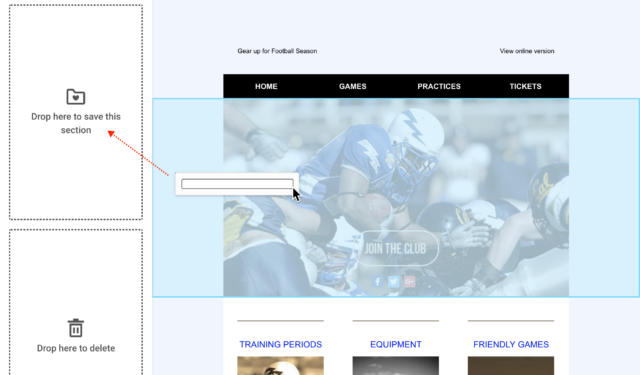
Once you choose the name and click on ‘Save’, the section will be added to your Saved Sections Gallery. And it will also be automatically linked to the template you created it from.
Note: Creating a saved section from the Email Editor does not save any section locking settings you may have set.
Using Saved Sections in the Esendex Email Editor
You can view and insert your Saved Sections from the Email Editor.
Insert a Saved Section into a Campaign (Regular Mode only)
Saved Sections can only be copied as a regular section into your marketing campaigns, with no link to the Saved Section Gallery. Any changes made to the section in your campaign are local only (Dynamically Linked Sections can only be added to a template and will be covered in the next part of this guide).
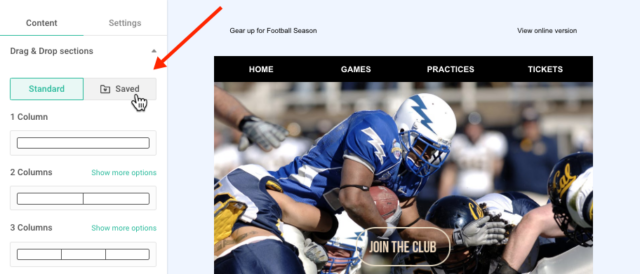
To insert a section into your marketing campaign, click on Drag & Drop Sections → Saved and drag-and-drop a section into the campaign.
Insert a Saved Section into a Template (Regular or Linked Mode)
With templates (marketing, transactional, automated), Saved Sections can be copied in as a regular section, or as a dynamically linked section.
Click ‘My Saved Sections‘ to view all your currently published sections. Then simply drag-and-drop the desired section into your template.
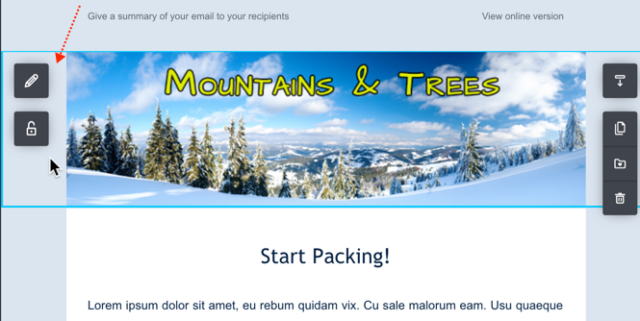
For Premium Plan Users, the Saved Section will automatically be added to your template as a Dynamically Linked Section.
Unlink a Linked Saved Section within a Template
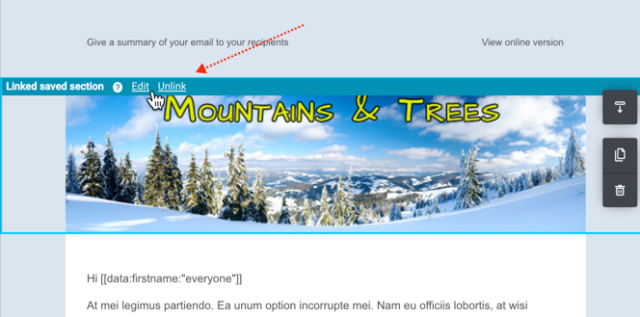
Dynamically Linked Sections within a template can be unlinked and changed to a Regular Saved Section, allowing you to make changes to that specific template only.
To unlink a Saved Section within your template in the Email Editor, select the section and click on the ‘Unlink‘ option.
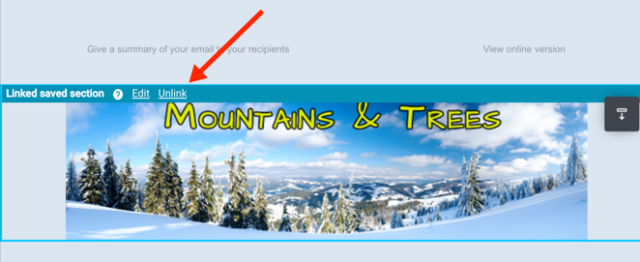
Please note: Once you unlink a section, you cannot change it back – there is no option to re-establish the link. If you change your mind, simply delete the (now) Regular Section and insert the Dynamically Linked Section back into your template.
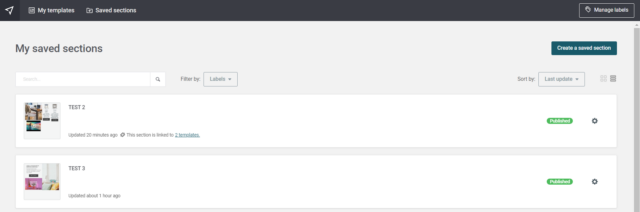
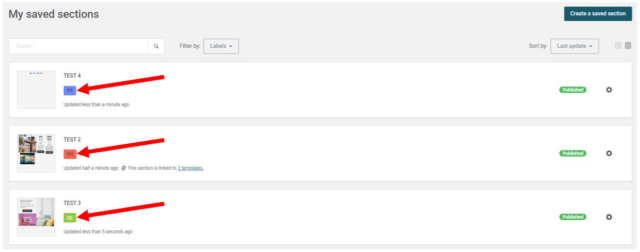
My Saved Sections Gallery
All your sections will be saved to the Saved Section Gallery, which can be accessed from within any Template Gallery (Marketing, Transactional, or Automation). Simply click on ‘Saved Sections’ from within a Template Gallery.
Saved sections that are dynamically linked to a template have a link icon. Click on the link icon to view the template list.

Export a Saved Section
Your Saved Sections can be exported to the Saved Sections Gallery of a sub-account of your choice by selecting Options → Export.
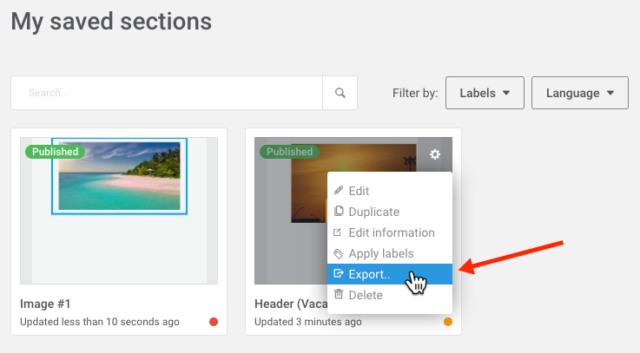
If you export a Dynamically Linked Section, the linked references will be removed. An exported section will be saved as a Draft in the respective subaccount’s Saved Sections Gallery.
Duplicate a Saved Section
To duplicate a saved section, simply select Options → Duplicate.
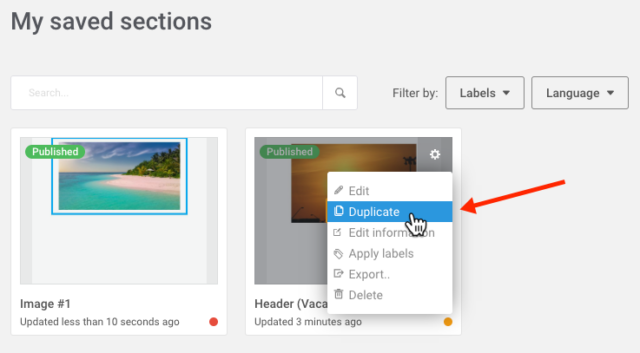
Please note, regardless of whether you are duplicating a published or draft section, the newly duplicated section will always be in draft mode.
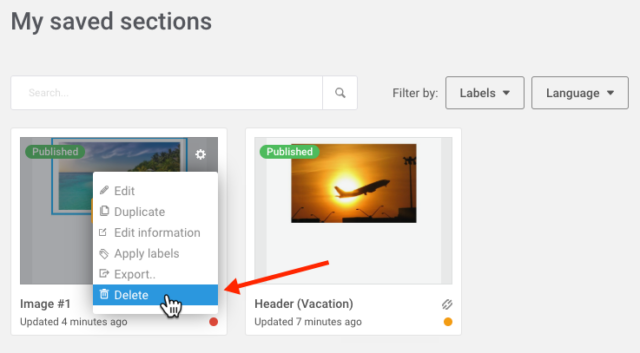
Delete a Saved Section
A saved section can only be deleted if it is not currently linked to any templates.
If a section is dynamically linked, you will need to go to each template and unlink the saved section. To view which templates are linked to a saved section, click on the ‘link’ icon.

To delete an unlinked section, click on Options → Delete.
Apply & Remove Labels to a Saved Section
Use labels to better organize and manage all your saved sections in the Gallery.
For example, use labels to identify section types (header, footer, social media), themes (holidays, locations, client groups), and much more.
Apply and remove labels for any saved section in the gallery by selecting Options → Apply Labels.

For detailed information on how to create, edit, and delete labels please visit the Label Management Section in our Template Management Guide.
Edit Existing Saved Sections
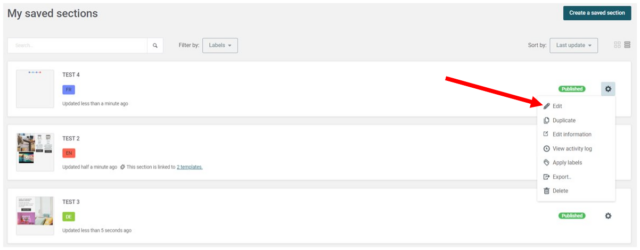
Edit a Saved Section in the Gallery
From your Saved Section Gallery, select Options → Edit
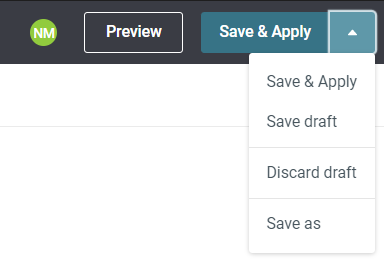
Make the section changes in the Section Builder, and then either save the changes as a Draft or Publish them.
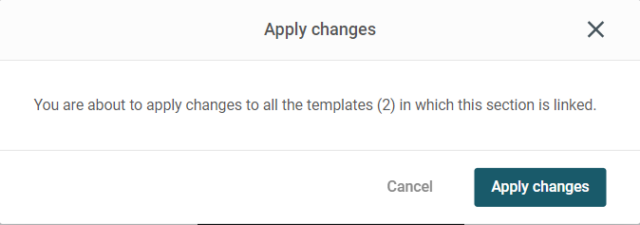
Please note: Once you publish the changes, any linked sections in other templates will be updated automatically.
Edit a Saved Section via the Esendex Email Editor
A Regular Saved Section in your campaign or template can be edited as normal within the Email Editor.
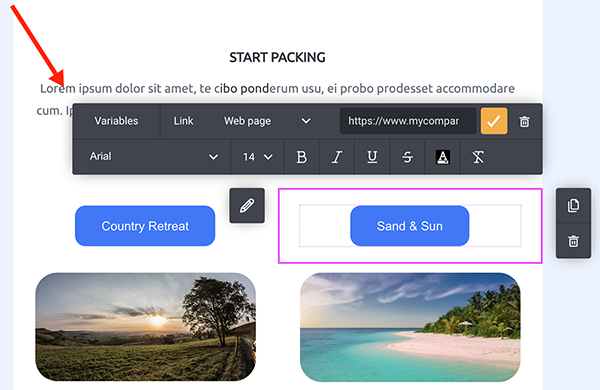
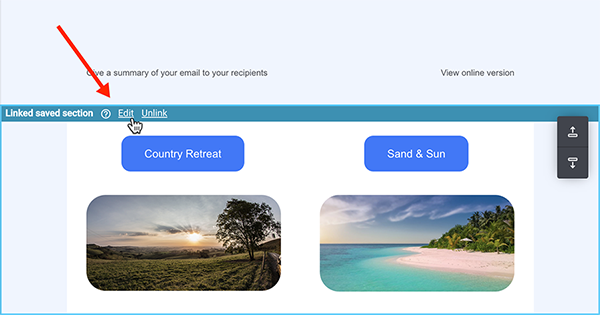
To edit a (Dynamically) Linked Section from the Email Editor, click on the ‘Edit’ option to be redirected to the Section Builder.
Make the changes to the section. Then save the changes as a Draft, or Publish the changes to have them propagate to all other linked templates.

Then click ‘Return to my template‘ to go back to the Email Editor.
Dynamic Linked Sections and Downgrading from Premium Plan
If you create Dynamically Linked Sections while on a Premium Plan, and then downgrade to a Essential or Free Plan, the links between sections and templates will become dormant. And any changes made to an existing Linked Section will not be reflected in the linked templates.
If you upgrade again to a Premium Plan, the dormant links will become active again, and you are free to create new Linked Sections.
Header, Footer & Preview Text
The Header
The campaign header contains the two important elements:

- Email Summary
To customize your email summary, simply click on the text, and make your changes. - View online Link
This link allows your recipient to view your email on a web browser. The link is automatically generated and no changes need to be made.
Preview Text
The preview text – also known as the preheader – is the text shown after the subject line when viewing your email in the inbox.
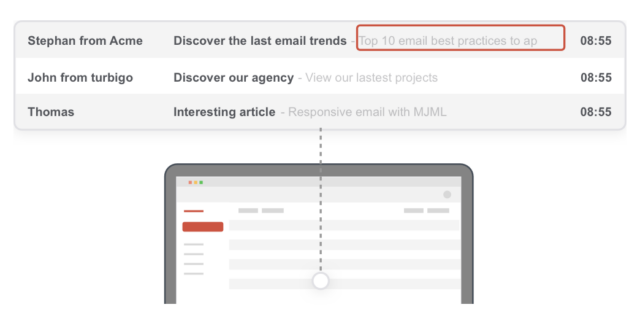
The preview text typically summarizes your email in a short sentence and can help your email get noticed in a crowded inbox.
To change the preview text, click the ‘pencil icon’ from the Email Editor design screen, then click ‘Preview text’.
If you do not provide a custom preview text, the email summary will be displayed instead.
The Footer
The default campaign footer contains an unsubscribe link and the mailing address (represented by the special variable [[EMAIL_TO]])
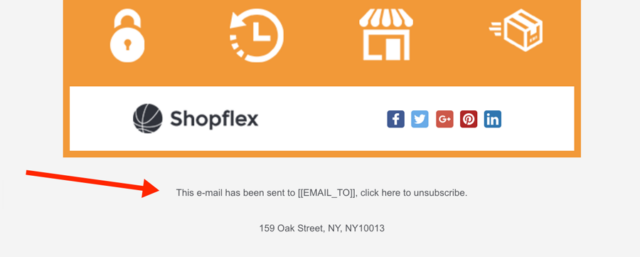
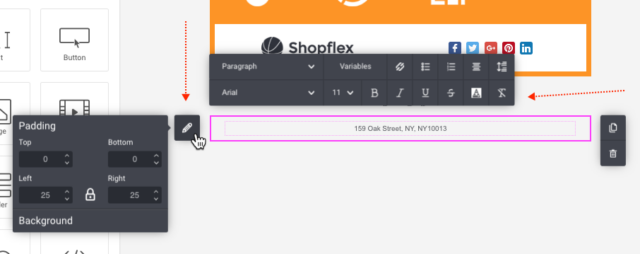
You can fully customize the footer to match your brand. Simply click within the footer section and use the toolbars that appear to customize your footer design.
If you look at the hyperlink for the default unsubscribe link, you will see a special unsubscribe variable:
[[UNSUB_LINK_LOCALE]]
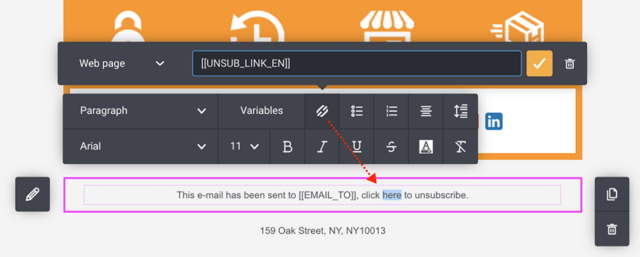
This variable is used to unsubscribe the recipient from the contact list. (The “LOCALE” represents the language of the campaign and defines the language of the subsequent unsubscribe pages, which is automatically handled by the Email Editor.)
You can customize the footer (including that unsubscribe link), as long as you keep the [[UNSUB_LINK_LOCALE]] to enable your recipients to unsubscribe from your mailing lists.
Please note: You’re required by law to have an unsubscribe link in your campaign, so if you do not have an unsubscribe link, the Email Editor will automatically re-add the default footer upon saving, previewing or sending your campaign or template.
Global Style Settings
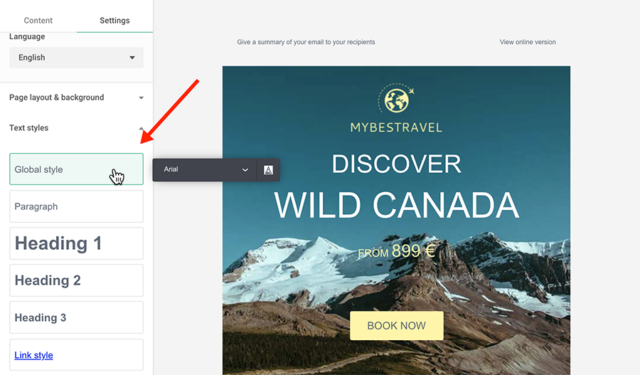
With a couple clicks, easily format the text styles of all your paragraphs, headers and hyperlinks within your newsletter or template.
To access the global text styles, click on the ‘Settings‘ tab.
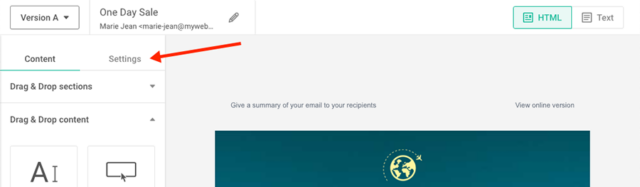
As the name suggests, the “Global Style” option will set the font family and color for all the elements listed (Headers, Paragraphs, Links) as well as the newsletter header and footer.
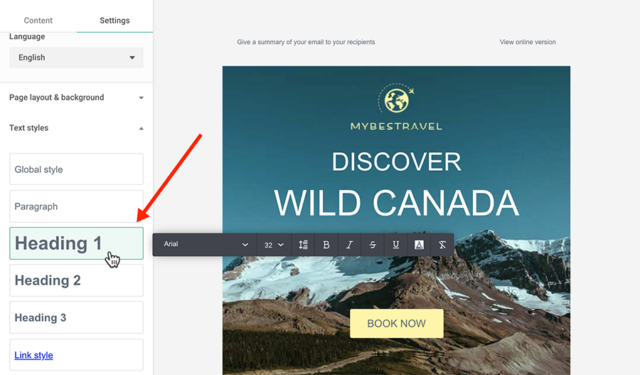
You can then further customize the styling for each of the Headers, Paragraph and Link elements.
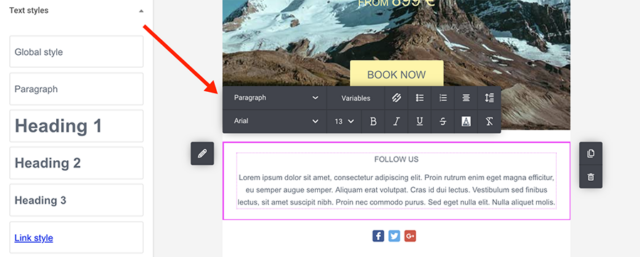
And lastly, if you want to have a different text style for a certain header or paragraph in your campaign, simply style the text as usual with the section toolbar.
Import Custom Fonts
Add custom Google fonts or hosted web fonts to your marketing newsletters, transactional and automation templates using the Email Editor.
Please note, the import custom font feature is only available on Paid Plans.
Custom fonts are saved per template. Fonts added in one template/newsletter are not automatically added to newly created ones or if you pick another template from the gallery.
Tip: Duplicate or export your template/newsletter to carry over your custom fonts.
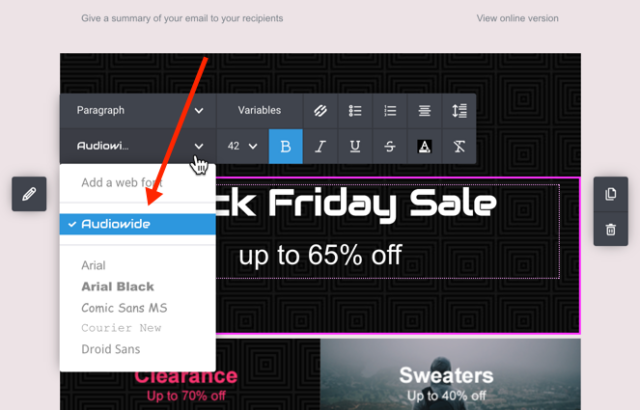
To add a custom font, click on the Font Family drop down list from within a text element, and select ‘Add a web font‘.
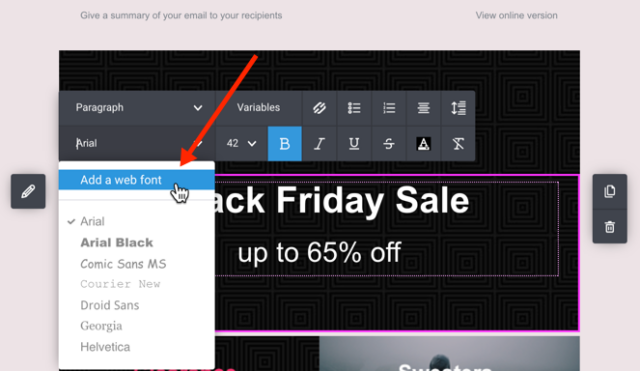
At this point you choose to add a one of over 800 Google Web Fonts or link to a hosted web font via a CSS file.

Add A Google Font
Start typing a Google Font name. Once you select a font from the predictive list, the preview window will display the new font. You can also change the text in the ‘your font’ preview section (up to 15 characters).
The preview section also displays a fallback font.
While some major email clients do support custom web fonts (Apple Mail, Android Mail, iOS Mail, Outlook 2016 OSX…), be aware that some others don’t, such as: Gmail, Yahoo! Mail and Outlook 2003. In these cases, the fallback font will be displayed instead of the Google font.
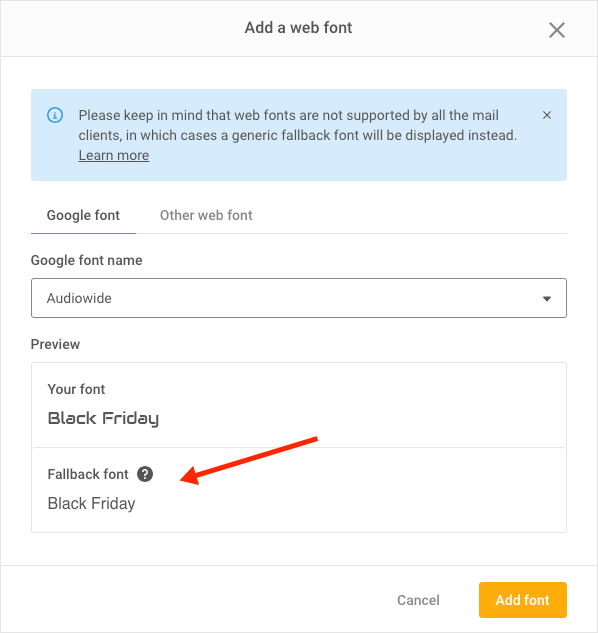
Once you selected a custom font, click ‘Add font‘.
All custom fonts will be added to the top of the font list in alphabetical order.
Fanatical about fonts? Check out Google fonts to learn more about typography.
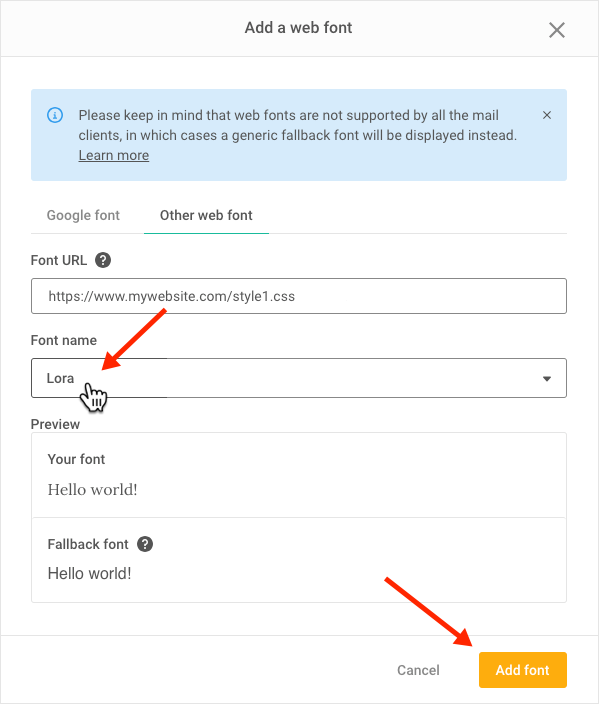
Add Other Web Fonts
To add your own custom web font, enter the URL to the CSS file that contains the web font information. A new drop down list will appear showing all the fonts found in the CSS file. Simply click on the font you want to import and then click ’Add font’.
Personalising Content
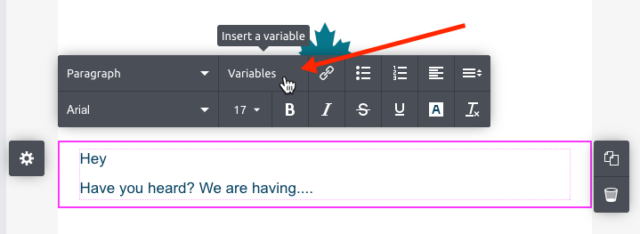
You can customise your newsletter text and subject field by adding your contact properties. Select the text frame where you want to display the personalised content. From the menu bar, click on ‘Variables‘.
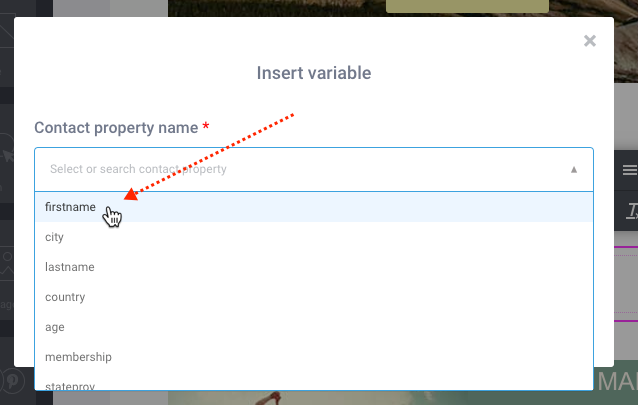
Select the desired contact property.
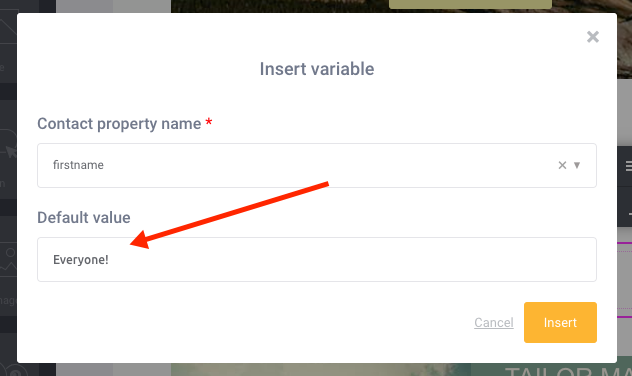
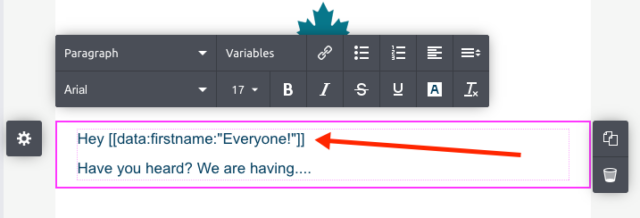
Then enter text in the ‘Default value‘ box. If your contact does not have a “firstname”, the default text that will appear instead.
Manage your Mobile View
You can arrange how the columns in each section of your message will appear on a mobile device: Stacked (default) or Side by Side.
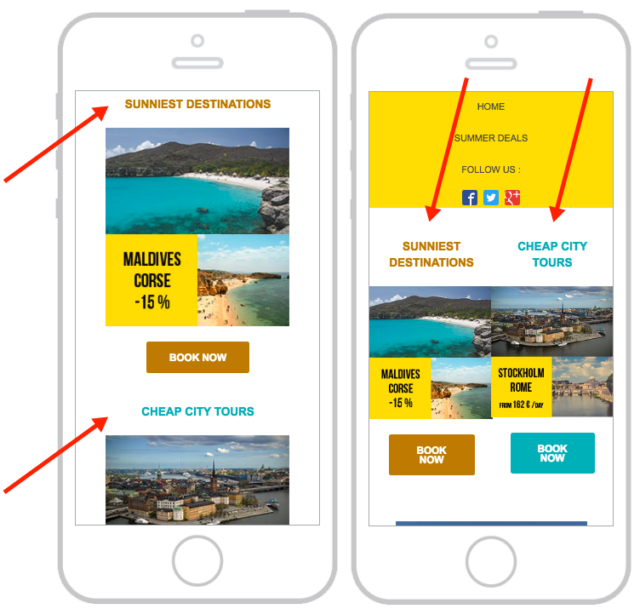
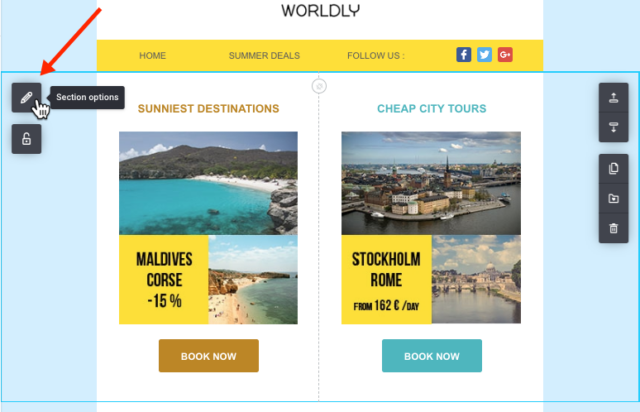
To change a column display, click on the section background then click on the ‘Selection Options’ icon.
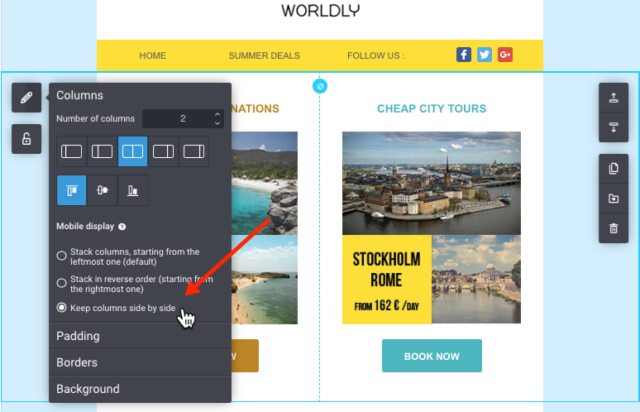
Check the ‘Keep multiple columns on mobile’ options to display columns side by side. A small blue icon will appear in the section indicating the columns will be shown side by side on a mobile device.
Click on ‘Preview & Test’ to view how your columns will look side by side.
Responsive Design (Fullwidth vs Boxed)
Our tool allows you to build responsive design newsletters. This means that your newsletter can respond and adapt accordingly to the width of your viewing screen. Your campaign will look awesome whether you view it on a computer/laptop, mobile phone or tablet.
The Setting Tab gives you two options for responsive design:
- Fullwidth: Your campaign width will automatically adjust to the width of the viewing screen.
- Boxed: The main campaign body width is static, regardless of the viewing screen.
Preview Your Campaign
To preview your campaign click on the Preview & Test → Preview Email.

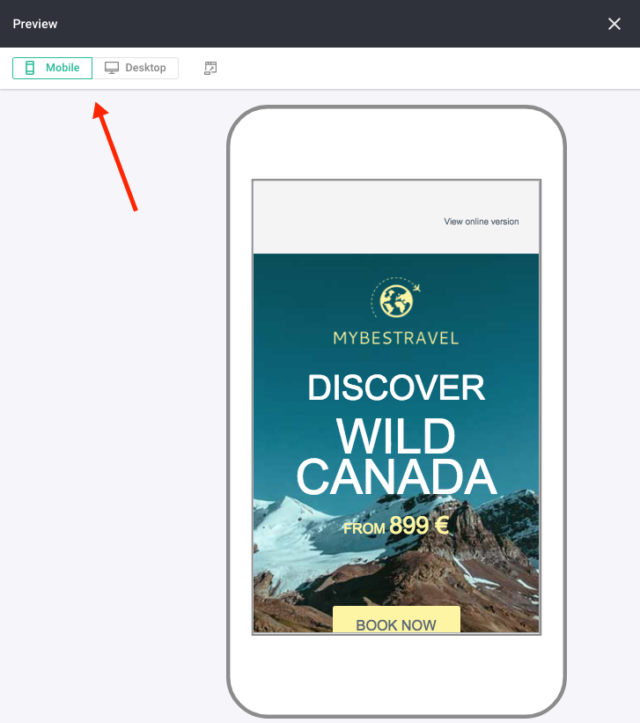
Email Preview
Currently in our Email Editor we provide the possibility to test how a template or campaign will look like on different devices (screen sizes). This Preview gives view only of the responsiveness of the design, however each email client has its specifics.
The problem with email is that every inbox – Apple Mail, Outlook, Yahoo!, Gmail and all of the others – render the same email very differently. While we’re doing our best to offer the best result on all email clients, we have no control over the rules defined by those clients. For example, even Gmail will not render Google fonts and there’s nothing anyone can do about it (except Gmail, of course)!
Because of this, it’s very important to test your email across all of the email clients your audience is using to make sure they’re seeing your message the way you expect them to.
To help you do this, we have just launched a new feature that will help you preview your email exactly as is it will be displayed when read by your contacts.
Discover our “Email preview” feature HERE.
Send a Test email
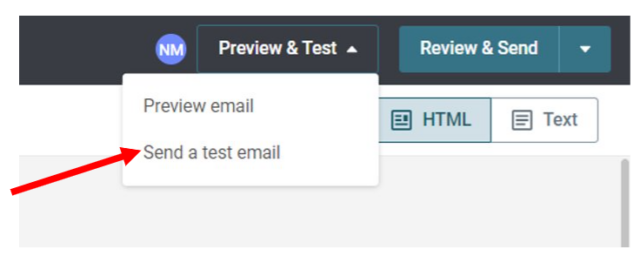
You can send a test email (campaign) up to 10 recipients at any time.
To send a test campaign, click on the Preview & Test → Send a test mail.
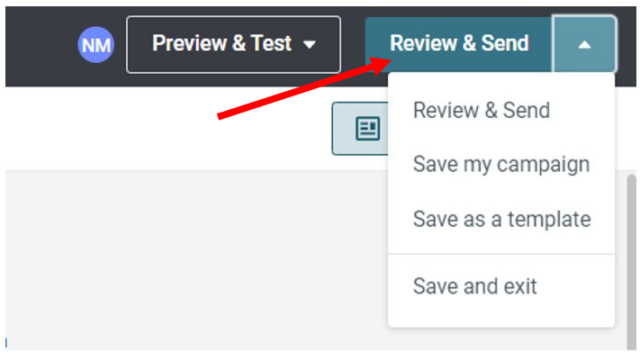
Save Your Campaign

To save your campaign, select ‘Save my email‘ or ‘Save and exit‘.
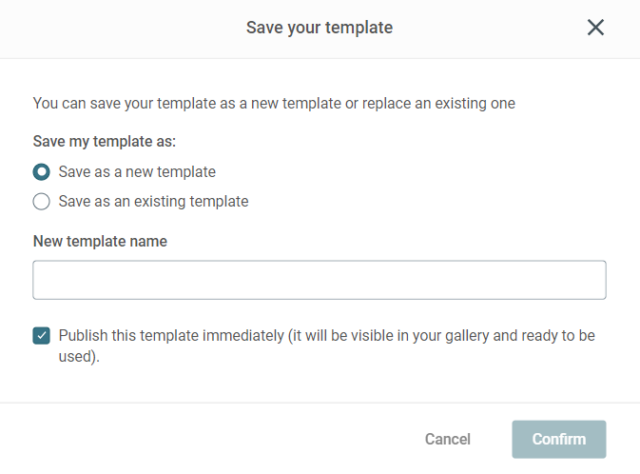
To save your campaign as a template, select ‘Save as a template’.
Let’s step through saving your campaign as a template:
The first time you save a campaign as a template, you will need to enter a template name. You can overwrite the default template name or enter a new template name.
For this example, a new template name will be entered. Then click ‘Confirm’ to create your new template.
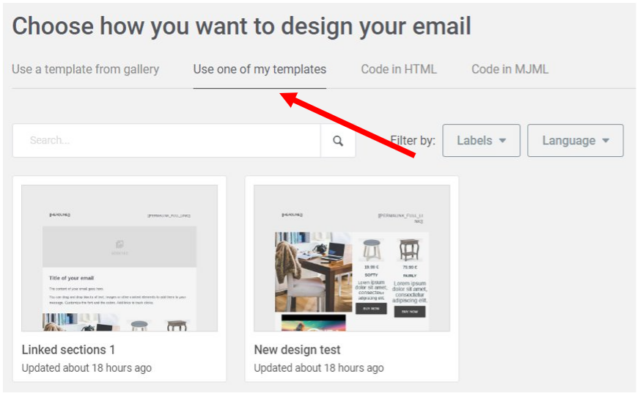
To view your new template, click on ‘Back to template selection’ from the main menu, then click ‘Use one of my templates‘.
Send Your Campaign
Once you have worked your magic to create an amazing campaign, and you’re ready to send your campaign, click ‘Review & Send‘ from the Email Editor design window.
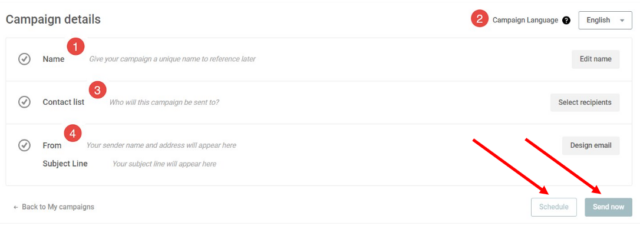
Back at the ‘Create a new campaign‘ page, you can review all sections and make any changes.
Once all the sections are complete (each section has a green checkmark), you have the option to schedule your campaign up to 60 days in advance or send it immediately.
Congratulations on sending your first campaign.
Recommended articles
Can't find what you're looking for?
Speak to a member of our support team.