Email.
Get support for your Esendex Email products.
Template Management
Summary
- What are Templates
- Create a Template
- Preview Your Template
- Test Your Template
- Save Your Template
- Save & Publish Your Template
- Edit a Published Template
- View Version History / Restore Previous Version
- Comments
- Managing Your Templates
- Organize Your Templates with Labels
- Template Publication Request
- Using MJML in the Esendex Email Editor
What are Templates
A template is a predesigned layout that you use as the foundation for your mailings. Simply select a template that you like and then customize the content, colours, images to your liking. You can create a marketing template to use for your campaigns and transactional template for your transactional emails.
And with Esendex, you can work on a new version of a template that is currently used in production, without having to create a duplicated version. No more duplicating templates when you want to make changes. You can create newer versions of a production template without impacting your users.

Create a Template
You can build a template for your marketing campaigns or your transactional emails.
There are several ways you can create your own template:
- Save a template when creating your newsletter / campaign in the Esendex Email Editor: At any time while designing your newsletter in the Email Editor, you can save it as a template.
- Use a Predesigned Template from the Gallery – Pick a template from our inspirational gallery and easily customize it with our drag-and-drop editor. With our Email Editor, it’s easy to design beautiful responsive emails.
- Using one of Your Own Templates – Pick one of your own previously created templates as the foundation for a new template.
- Use HTML – For designers, coders or anyone who uses HTML. You can import existing HTML code to create your templates in our HTML editor, or code one from scratch.
- Use MJML Code – MJML is the Esendex markup language designed to reduce the pain of coding responsive emails. Import existing MJML templates directly into the Email Editor, where changes can be made by anyone.
Once you customise the template to your liking, you can save it as your own template to use in future mailings.
Using a Template from the Gallery or Your own Template
For this example, we will create a template for your marketing campaigns.
From the My marketing templates page, click on the ‘Create a new template’ button.
You can use a template from the gallery, or you can pick a template that you’ve designed before.
For this example, we will use a template from the gallery. Click on the design that you like. Then enter a name for your template and press the ‘Use this template’ button.
On the Email and Sender Details, fill out the subject and sender information. This information will be used when previewing any test emails you may send.
You can also change the default ‘Give a summary of your email to your recipients’ preview text to help increase your open rates. Just click on the ‘Customise your preview text and increase your open rates’ link and enter the new preview text. (Psst. You can change the preview text via the Email Editor at any time).
Then click on ‘Save’ to continue.
Now the fun part – customising the template with the Esendex Email Editor. You can easily customize the template by reordering sections, adding content, tweaking colours and much more with the Email Editor Tools.
At the top of the template, you will see the Draft status. (Remember, Draft templates are only accessible in your template management gallery, and cannot be selected when creating a new campaign newsletter).
By default, your template will auto-save every 30 seconds. But you can save your template at any time, by clicking on the drop-down and selecting ‘Save draft’.
You can also:
- Preview Your Template & Send a Test
- Save your Template (as a new template or replace a current template)
- Save & Publish your Template
With HTML
From the My Marketing Templates page, press the ‘Create a new template’ button.
Then click on ‘By coding it in HTML’.
You have three choices in creating your template: import your existing HTML code, code it from scratch, or upload a ZIP file.
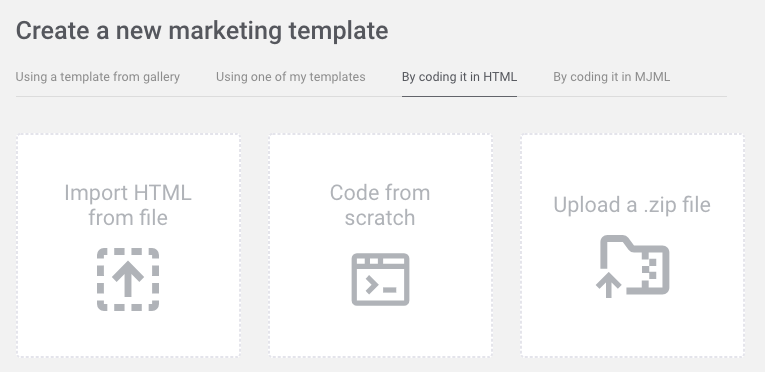
- Import from File:
Enter a template name, and then upload your .HTML file. - Code from scratch:
With this option, you can code from scratch as well as copy in existing HTML code. - Upload a .zip file:
Upload a .zip file with the HTML code and images of your newsletter. (Please ensure the main .HTML file is at the root of the zip archive, and only GIF, JPG, JPEG, and PNG images are included.)
The next step is to enter the key sender details and email information. Then you are ready to modify your template.
Once you are finished customizing your template, you can preview & test your template.
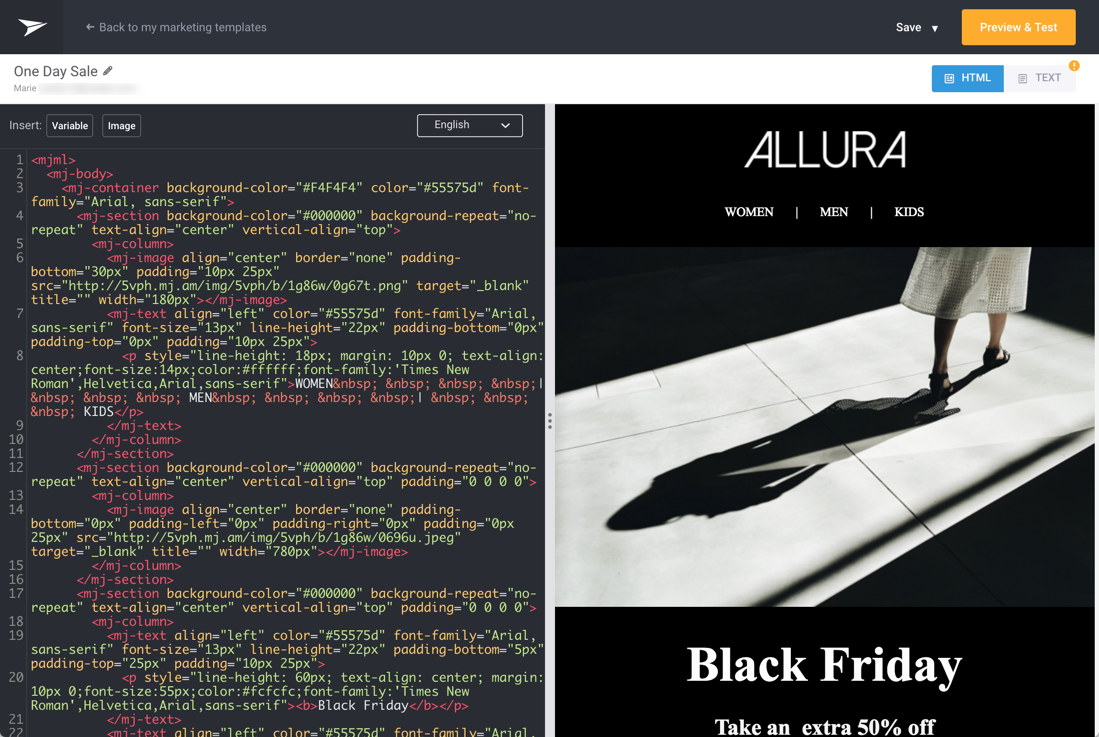
With MJML
From My Marketing Templates page, click ‘Create a new template’.
Then select ‘By coding it in MJML’.
You have two options on how to create your template: import your existing MJML code, or code it from scratch.
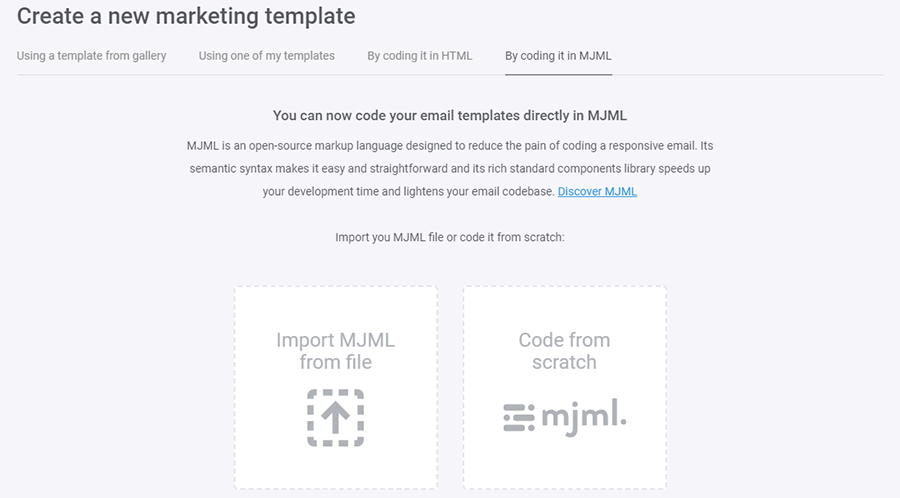
- Import from File:
Enter a template name, and then upload your MJML file (with extension .MJML). - Code from scratch:
Simply enter a template name and continue by clicking ‘Create’.
The next step is to enter the key sender details and email information.
Before you start editing your template, please be aware there are some guidelines to follow when using MJML in the Esendex Email Editor.
Once you are finished customising your template, you are ready to preview & test your template.
Preview Your Template
To preview your template on different devices, click Preview & Test → Preview email.
Test Your Template
You can also send a test email (up to 10 recipients at a time) to see how the email will appear to your clients. Please keep in mind that the look of your emails could vary between different email providers.
Click on ‘Preview & Test → Send a test mail‘.
If you are testing your transactional template, there are two possible test options:
- Send a test email (same as sending a test campaign)
Save your Template (Save As New / Replace Existing Template)
While working on your campaign or template, you can choose to save it as a new template or replace a current existing template. From the Email Editor design page, simply click on the drop-down menu and select ‘Save As’.
Save & Publish your Template
To have your template visible and usable in your gallery, your Draft template needs to be published.
Load the template into the Email Editor.
Click the ‘Save & Publish to gallery’ button.
Once your template has been published, it can be used when creating a new campaign.
Edit a Published Template
Once a template is Published, you can still make changes to that template via the Email Editor by saving your changes as ‘drafts’. Similar to the ‘Draft’ template status, any saved ‘draft’ changes are saved to your Template Management Gallery only, and are not available when creating a new campaign/email. Once your new version is ready, you simply publish those changes.
Let’s go through an example.
From your Template Gallery, open a published template and make your changes in the Email Editor. You will see a message under the “Published” status icon informing you that ‘You are editing the draft version. Save and publish to apply changes to your template’.
To save your new changes, click on the dropdown menu and select ‘Save draft’.
And that’s it – you have saved your changes in ‘draft’ mode!
Continue making changes to your template in the Email Editor – and don’t forget to preview & test your changes.
Once you are ready to publish those changes (and overwrite the current published template in the gallery), simply click ‘Save & Publish to gallery’ . . .
Then agree to the confirmation window. And that’s it – you’ve successfully updated a published template.
You can view your template publication history and even choose to revert to a previously published version.
View Version History / Restore Previous Version
There are 2 ways to view a template’s version history:
From the template gallery:
From the Email Editor, by clicking on the drop menu:
The Version History Page will show details of your current version and up to 5 previously published versions.
(If you are viewing a template that has never been published or has been published once, only the current edited version will be shown.)
Click on any previous version to load it onto the screen.
To restore a previous version, simply click on the ‘Restore this version’ button.
From the confirmation window, you have 2 restore choices:
- Restore the version directly into the Email Editor to make changes
OR
- Restore the version and publish it immediately
Please note: if your currently published version has unpublished changes, restoring a previous version will overwrite these changes.
Managing Your Templates
The templates within your template gallery are grouped by type: Marketing and Transactional.
From your Template Gallery, you can manage all your templates including:
- Select the Template Display
- Search & Sort your Templates
- Duplicate a Template
- Change the Template Name
- How to Export a Template
- Delete a Template
Note: Marketing Templates will be used for the examples in this section, but you can use any template type.
Grid & List Display
Display your templates in a grid view (default) or a list view.
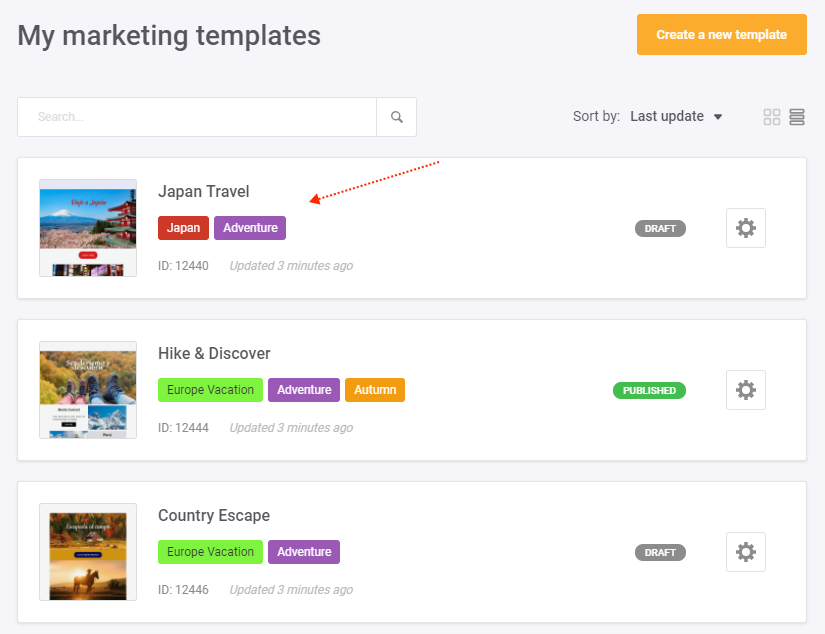
Each template in the gallery will display:
- Template Thumbnail
- Template Name
- Applied Template Labels
- Last update information
- Template Status: Draft vs Published
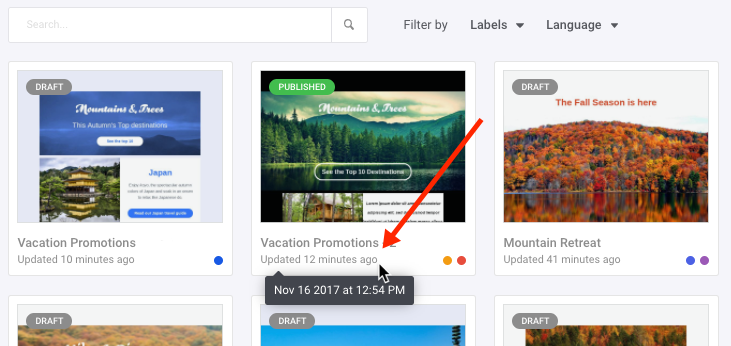
Hover your mouse over the last update information to view the exact date & time.
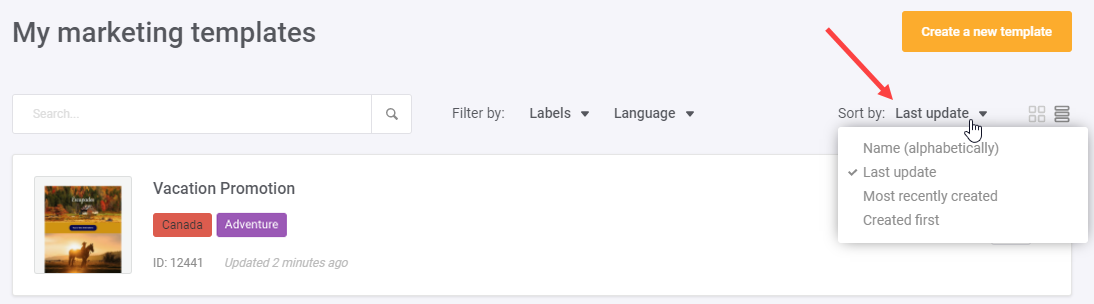
Sorting Options
From the ‘Sort by:’ drop down list, sort your templates by:
- Name (alphabetically)
- Last update
- Most recently created
- Created First
Searching
You can easily search for templates in the gallery using the powerful search tool. Enter multiple criteria at once and instantly see the results that match. Search by:
- Template Name
- Template ID
- Template Label
- Locales (search by short 2 letter abbreviation or the full language name)
Results will be grouped by Template, Labels, and Languages.
If you click on a template from the results, you will be taken directly to the Email Editor to edit it.
If you click on a label or locale from the results, it will be added as a filter to the search box. Please note, you can only select one locale as a filter, but can select any number of labels.
Duplicate a Template
From the template gallery, click on Options (cog icon) then select ‘Duplicate’.
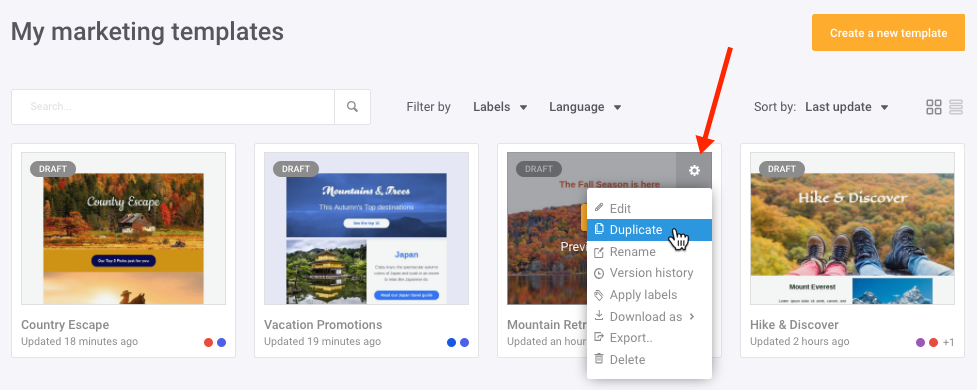
Please note, regardless if you are duplicating a published or draft template, the newly duplicated campaign will always be in draft mode.
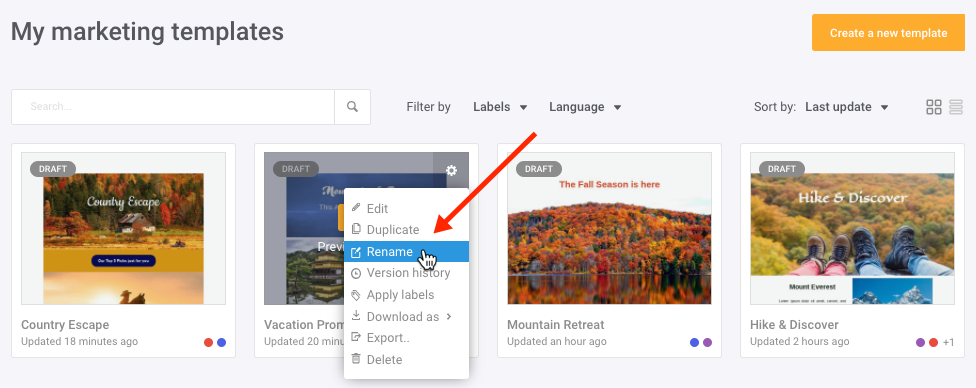
Change a Template Name
From the template gallery, click on the Options icon then select ‘Rename’.
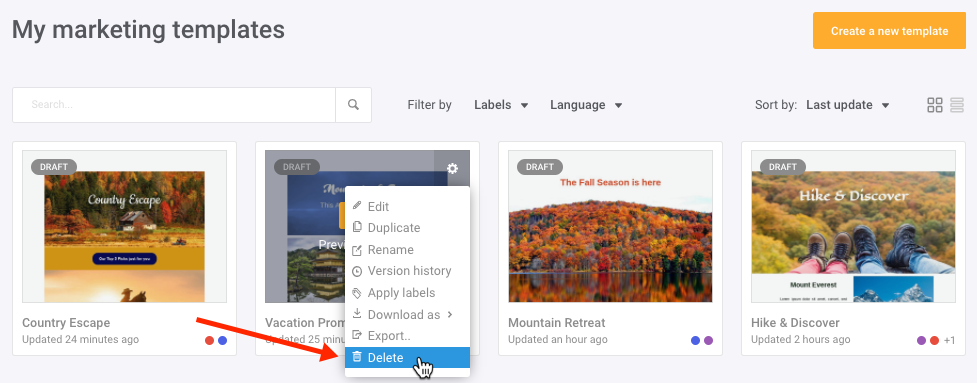
Delete
You can easily delete a template by clicking on the Options menu (cog icon) for the desired template and select ‘Delete’.
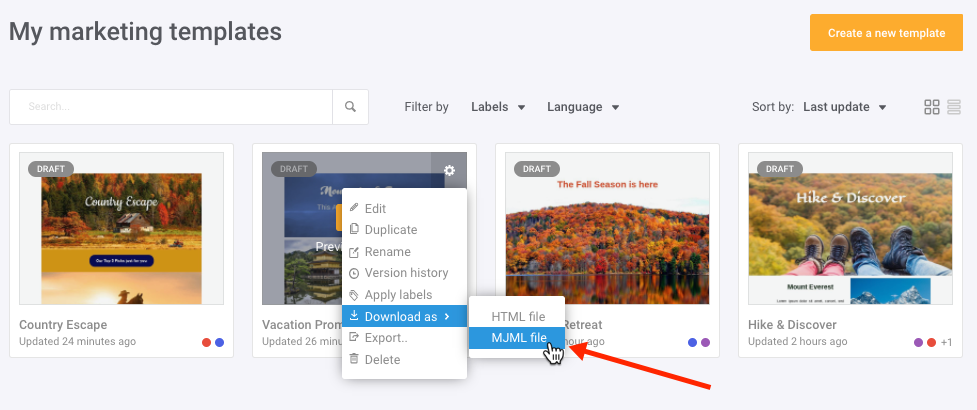
Download a Template
You can download your templates to a file on your computer.
Simply click on the Options icon and select either Download HTML or Download MJML.
A file will automatically download to your computer, and you are free to use your template outside of Esendex.
Note: Template download is only available for paid accounts
Export a Template
You can also export your template to your other galleries.
Click the Options icon and click on Export. Select where you want to copy your template and enter a new unique template. Then click ‘Export’.
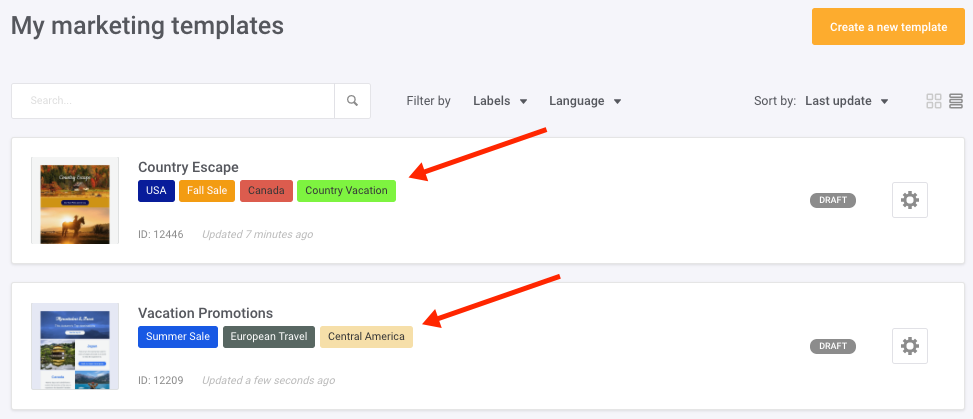
Organise Your Templates with Labels
Apply meaningful labels to your templates for easier organisation, sorting, and management.
For example, use labels to identify special events, holidays, seasonal templates, geographical locations, client groups and much more.
A label can be applied across all template types (Marketing and Transactional) and applied to as many templates as you wish.
And a template can have any number* of labels applied to it.
* Create up to 200 labels per Sub Account (or API Key).
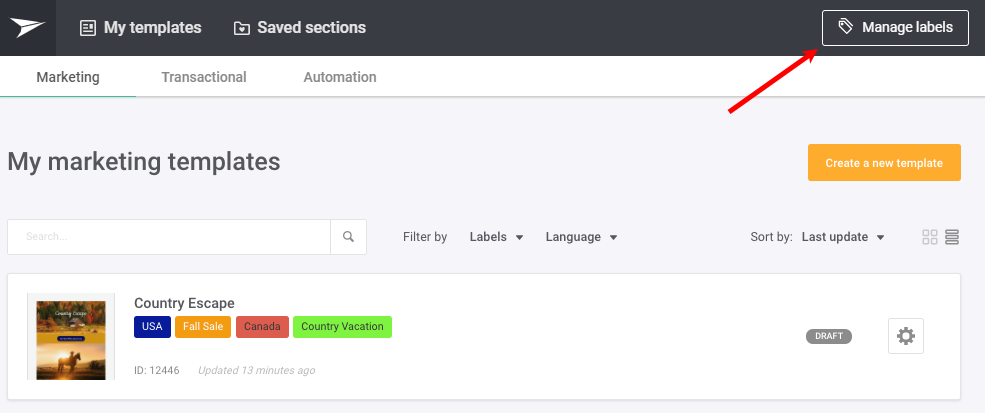
Create a Label
Your labels can be accessed from the template gallery by clicking on ‘Manage Labels’ in the top right corner.
From the modal window, you can create your first label by clicking ‘Create label’.
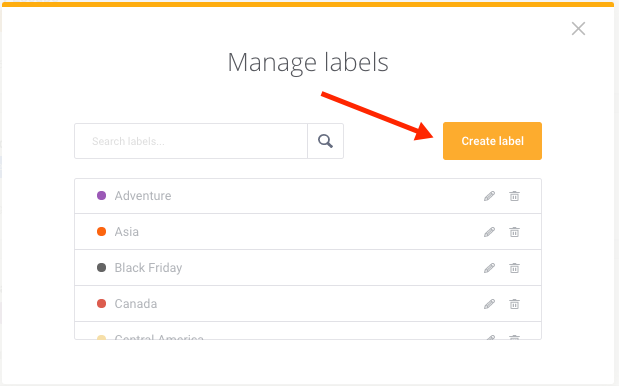
Each label consists of a unique name, and an assigned colour. You can create your own label colour by clicking on the “+” sign.
Once ready, just click ‘Save’ to create your first label.
You are now free to create labels to your heart’s desire… which has been calculated to be 200 labels per subaccount/API key.
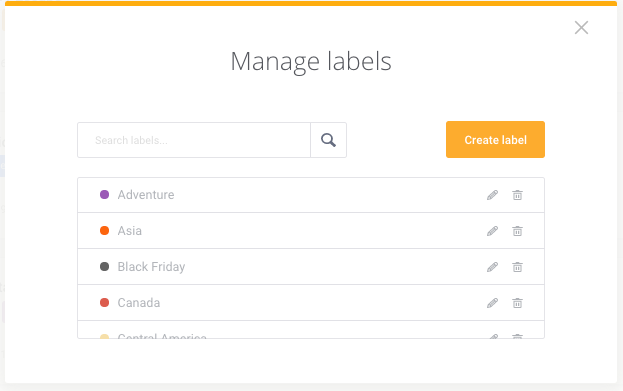
Manage Your Labels
From the Manage Labels window, all your existing labels are displayed in alphabetical order.

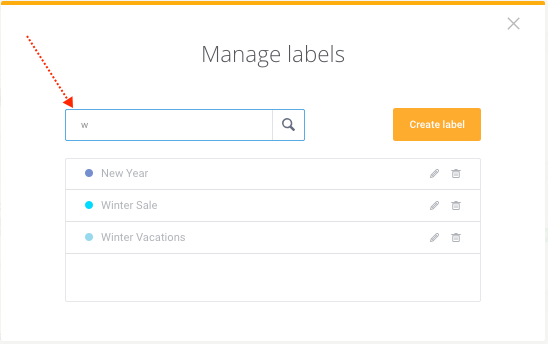
Search Labels
You can scroll through the list of labels, or type in the search field to have the most relevant results appear at the top of the list.
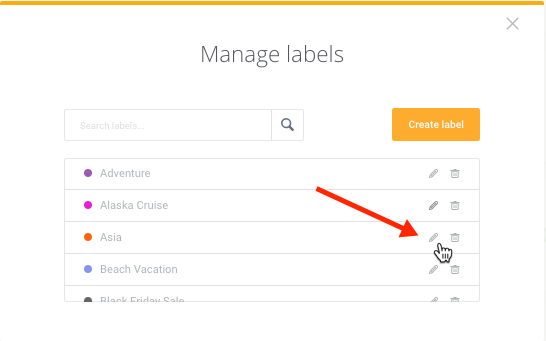
Edit Labels
To change a label name or label colour, simply click on the ‘pencil’ icon. In the new ‘Edit label’ window, make your changes then click ‘Save’.
Delete Labels
To delete a label, click on the ‘bin’ icon, then agree to the confirmation message.
Note: a label deletion is final and cannot be undone.
Apply & Remove Labels to a Template
From any template gallery, you can easily apply and remove labels from any template.
Click on the Options menu (gear icon), and select ‘Apply labels’.
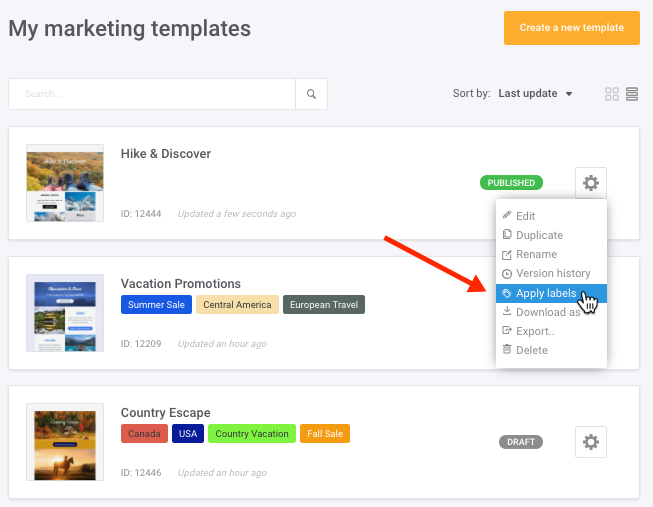
From the modal window, scroll through the available labels, or use the search field to filter down the selection. If you select the wrong labels, just click on the ‘x’ to remove it. Once you’ve selected all the labels, then click ‘Save’.
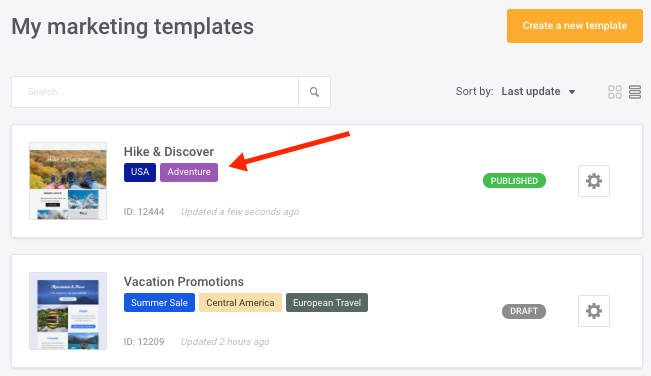
In the List View, the applied labels will appear just under the template name.
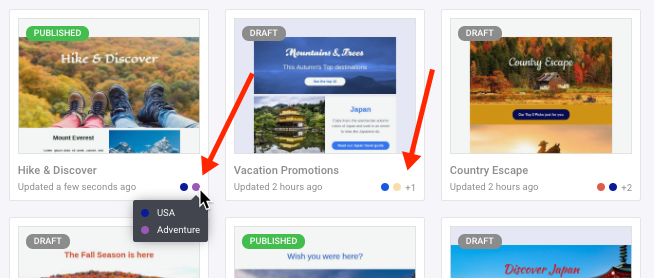
In the Grid View, the labels will appear as a coloured dot in the template thumbnail. Hover your mouse over the dots to view the full label names. If you have applied more than 2 labels to a template, the first two label dots will be visible, and the additional number of labels will be indicated by a number.
Using MJML in the Esendex Email Editor
When creating your emails with MJML in the Email Editor, please keep in mind the following constraints:
- The supported components are: mj-button, mj-column, mj-container, mj-divider, mj-image, mj-section, mj-social, mj-text
- When creating Marketing Templates, an unsubscribe link is mandatory: [[UNSUB_LINK_EN]]
- When creating Automation Templates, at least one of the following links are mandatory:[[WORKFLOW_EXIT_EN]] – Allows the recipient to exit the workflow.
[[WORKFLOW_EXIT_UNSUB_LINK_EN]] – The recipient can exit the workflow and unsubscribe from your contact list.
When you upload a MJML file in the Email Editor, you will be able to customize it using our MJML code editor but you also have the option of using our drag-and-drop tool if your MJML template has followed these rules:
- The size of the template is exactly 600px: mj-container max width = 600px
- t does not contain any section with more than 4 columns
- It does not use “mj-style”, as enabling to set style in the head part of a MJML document is currently not supported in the Email Editor.
- It only uses the following allowed components: mj-button, mj-column, mj-container, mj-divider, mj-image, mj-section, mj-social, mj-text
Recommended articles
Can't find what you're looking for?
Speak to a member of our support team.