Message Centre.
Get support for your Esendex Message Centre products.
Recipients
It’s obviously important that your SMS message is received by the intended recipient. With this in mind, you’ll find that adding recipients is incredibly straightforward.
Adding recipients
You can insert the recipient’s phone numbers manually or, alternatively, import contacts via a CSV file or address book.
Inputting recipients manually
The maximum number of recipients that can be manually added is 1,000. For each individual phone number you will be able to enter up to 15 digits, not including the country code.
If you would like to input a number with a different country code add a +. If you don’t include a + at the start of the number, one will be added. For example, 447716123456 will become +447716123456.
If you enter a 0 at the start of a number, it will automatically be amended to the code of the country your account is set up for.
Importing numbers from a file
If you upload a database of contacts through a spreadsheet or a CSV file, the maximum number of recipients that can be added is 200,000.
Individual phone numbers must be no longer than 15 digits, excluding the country code. If a + is not included at the start of the number, one will be added. For example, 447716123456 will become +447716123456.
Uploaded numbers which have a 0 at the start will automatically be amended to the code of the country your account is set up for.
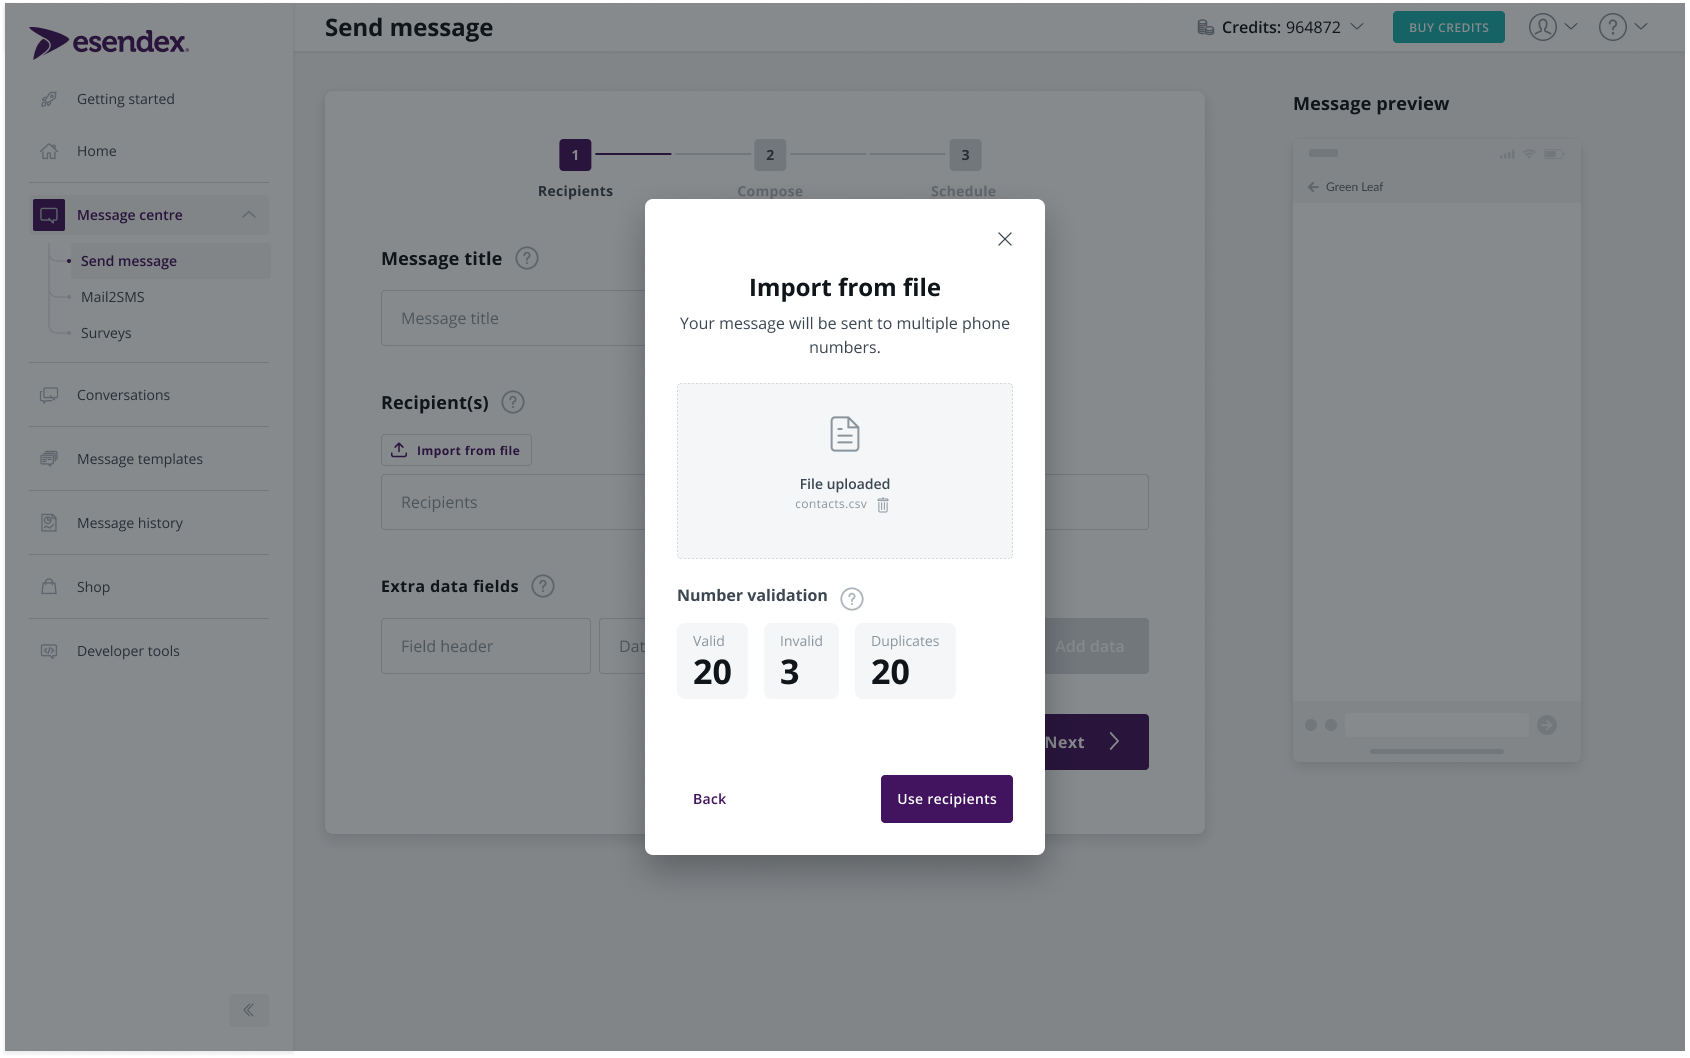
To upload contacts from a file, simply press the ‘import from file’ tab below recipients. If you have multiple columns in your file, you can use these to include dynamic data fields in your message.
When you upload a set of recipient phone numbers by importing an Excel or CSV file, various options are available. These include the option to send a ‘one to all’, ‘many to many’, or ‘dynamic to all’ message.
<insert screenshot>
Number validation
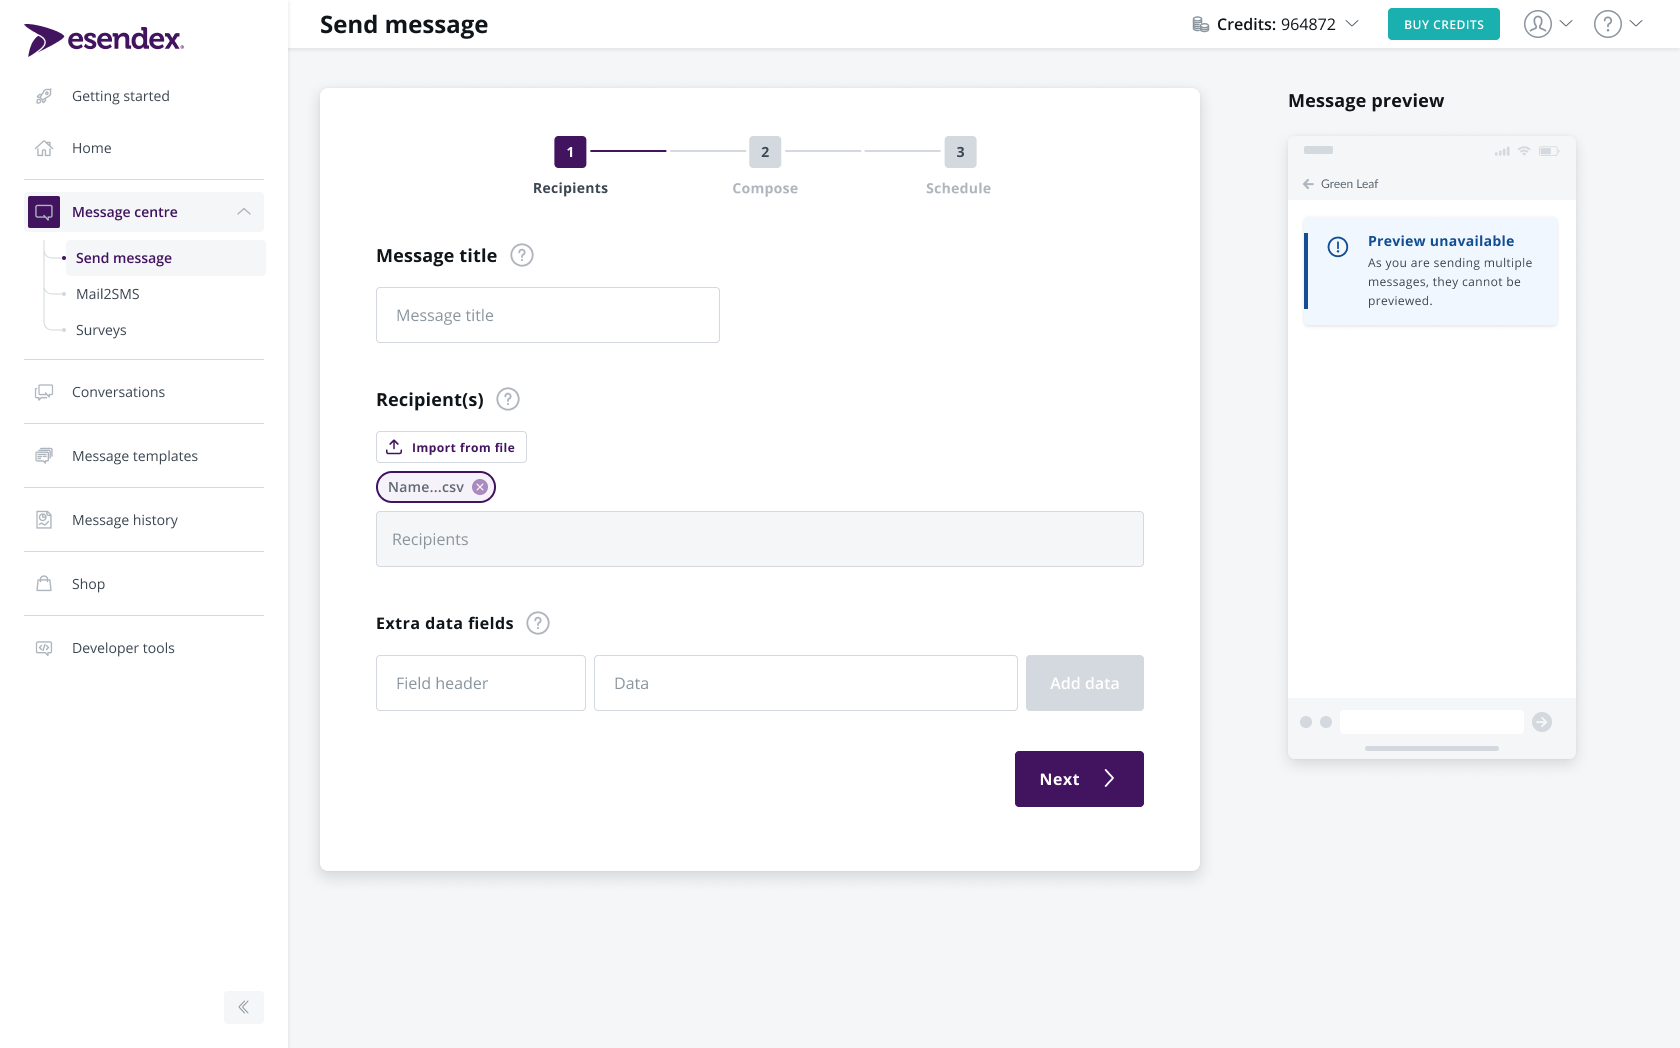
Whether entered manually or uploaded from a file, phone numbers that have been successfully recognised will be enclosed in a purple circle. Duplicate numbers will be highlighted in yellow and invalid numbers will be flagged in red. Once you are happy with your contact selection, press ‘next’ and move on to the scheduling tab.

‘One to all’
This option allows you to send the same message to your multiple contacts without any personalisation. For example:
“Special offers on flower bouquets are available this weekend! Place your order today.”
‘Many to many’
This option allows you to build a campaign with unique messages and bulk send the messages to multiple recipients. For example:
Message to recipient 1: “Your flowers will be ready to collect this morning.”
Message to recipient 2: “Your flowers will be delivered to your home this afternoon.”
Message to recipient 3: “Your flowers will be ready to collect tomorrow morning.”
‘Dynamic to all’
This option allows you to create personalised messages with data you have collected about your customers. For example:
“Hi , thanks for your flower order. It will be ready to collect from our location on .”
Once you have selected your upload option you can add the file.

Your file will then be uploaded and validated.

When you have confirmed you are happy with the validation, your file will be added to the recipients.

Recommended articles
Can't find what you're looking for?
Speak to a member of our support team.